

delight: kneadable eraser stamps.
tangible, moldable, portable joy.


For summer, here’s a very quick project that creates long-lasting, tangible, moldable, portable joy.
A kneadable eraser—a soft, moldable eraser, standard fare at most art stores—can be pressed onto textured objects and turned into a delightful temporary stamp. Once a print’s been stamped, the eraser can be rolled back into a ball and pressed it onto something new. Joy on repeat.
Making a perfectly sized paper box to fit both a tiny ink pad and the eraser isn’t required for fun to be had, but it definitely ups the cute factor and keeps everything in one place. I’ll be giving these tiny kits to every kid (and adult) I know for the rest of time. Paired with a little notebook, you’ve got the makings for a texture-based travelogue. We’ve already stamped every possible item in our apartment and now we can’t wait to bring these babies on the road.
Below, some of the specifics of what I used to make these little kits, plus some tips I’ve learned along the way. (There are lots of photos below, so the email is long and you might have to click VIEW ENTIRE MESSAGE to get the full post!)
This is free piece for everyone to enjoy. If it resonates with you and you’d like to further support my work, it would be amazing if you could consider:
Clicking the lil heart ❤️ to help this piece reach more people!
Sending the link 🔗 to anyone who you think might like it!
Upgrading to a paid subscription 🪄 to support more work like this (and to have full access to everything else)!
Thank you, thank you!
PS. On Wednesday I’m sending out a MAKE / DO summer bingo card to all paid subscribers. If you’d like to play along, subscribe or upgrade now.
Kneadable Eraser Stamp Kits
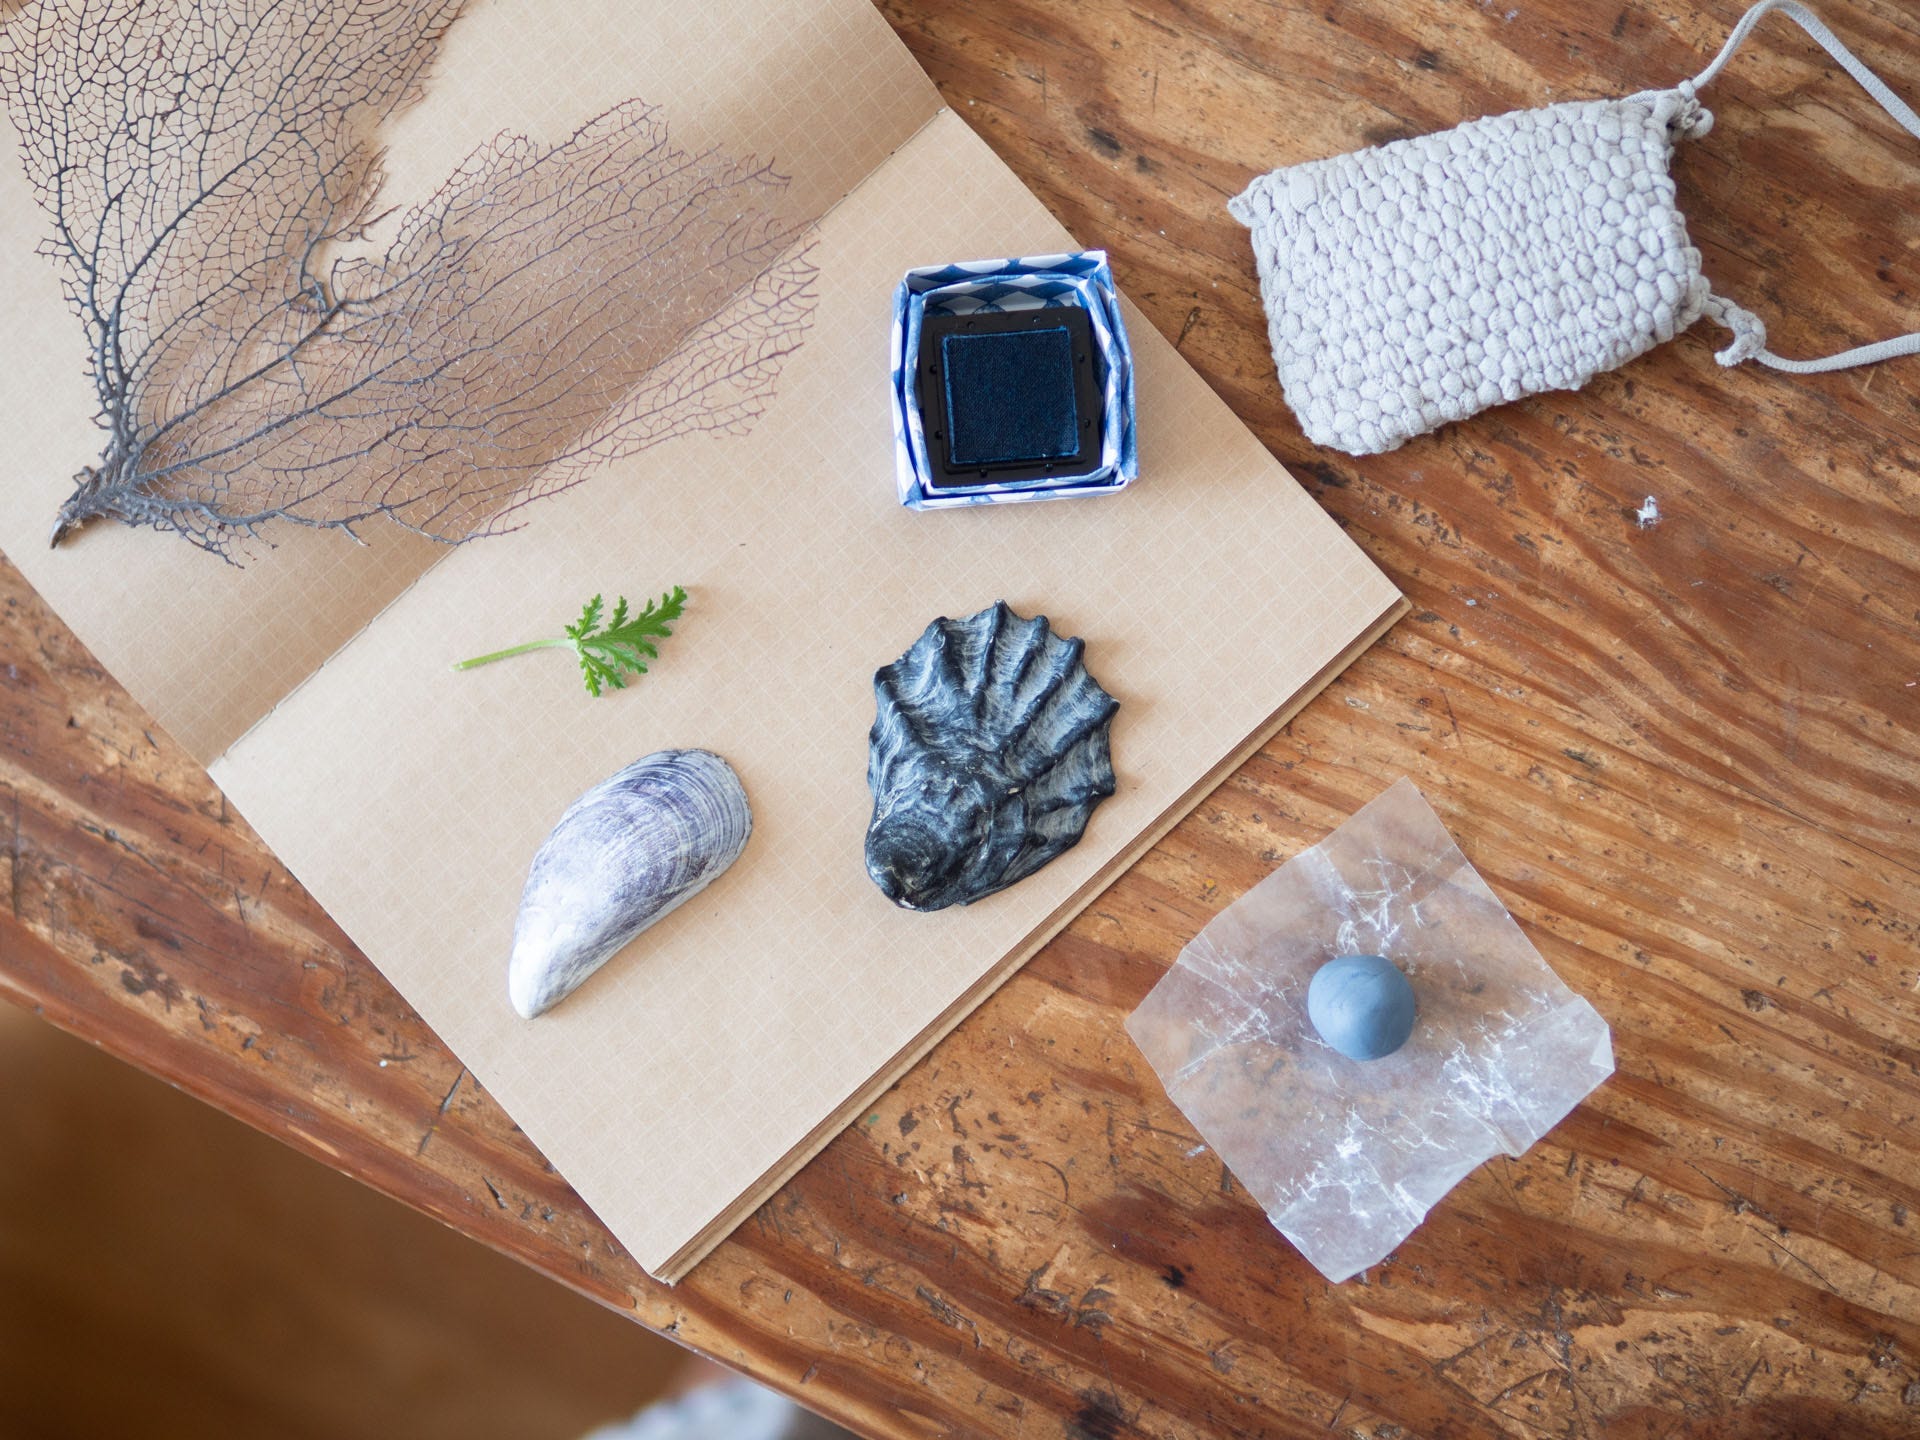
What I used:
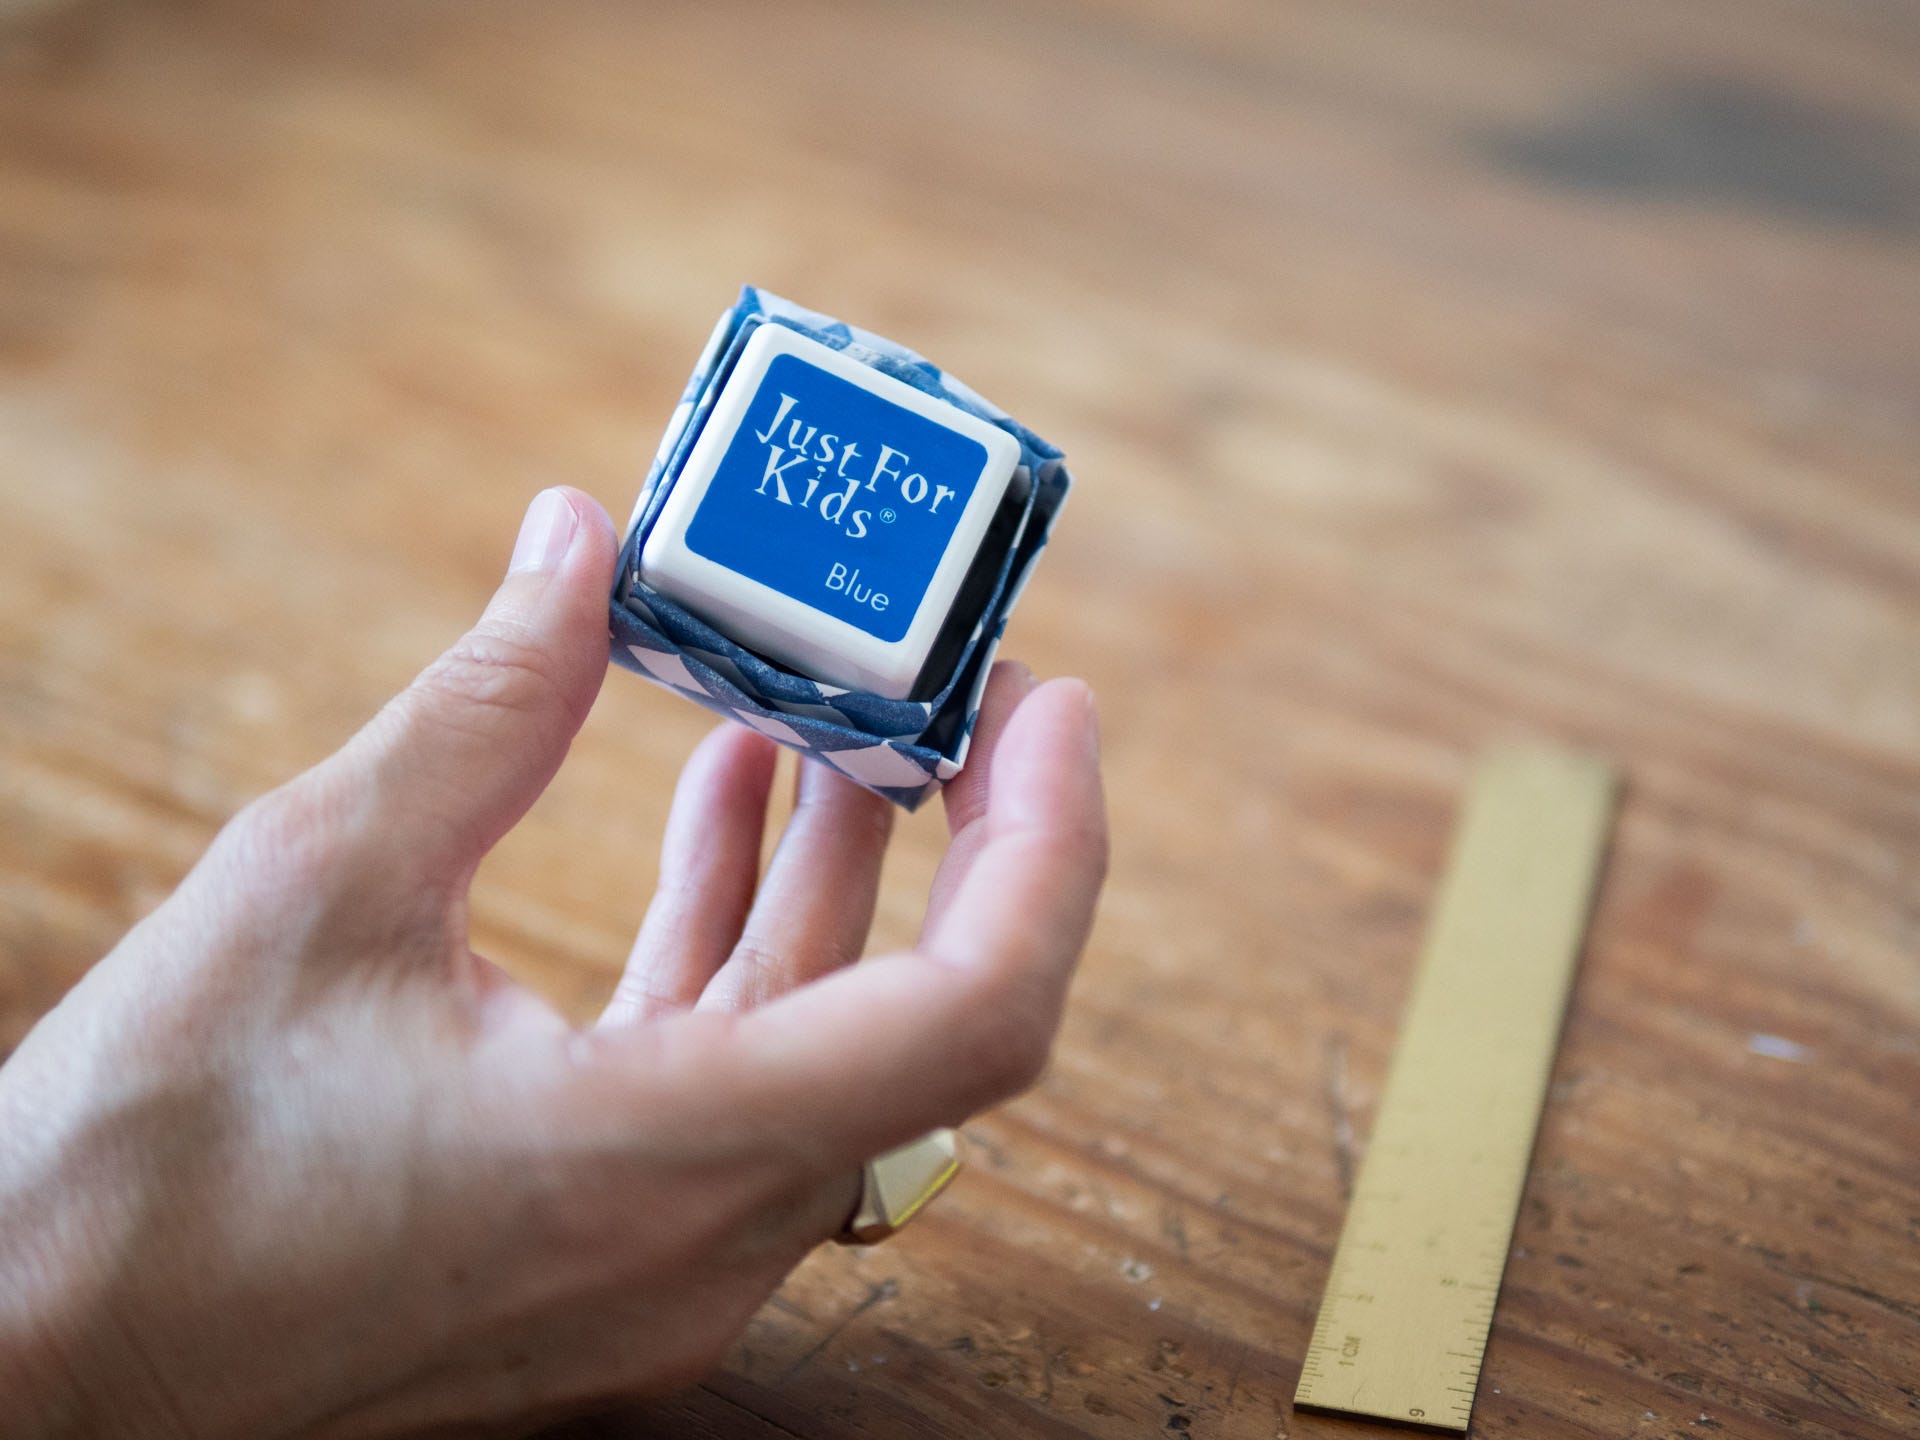
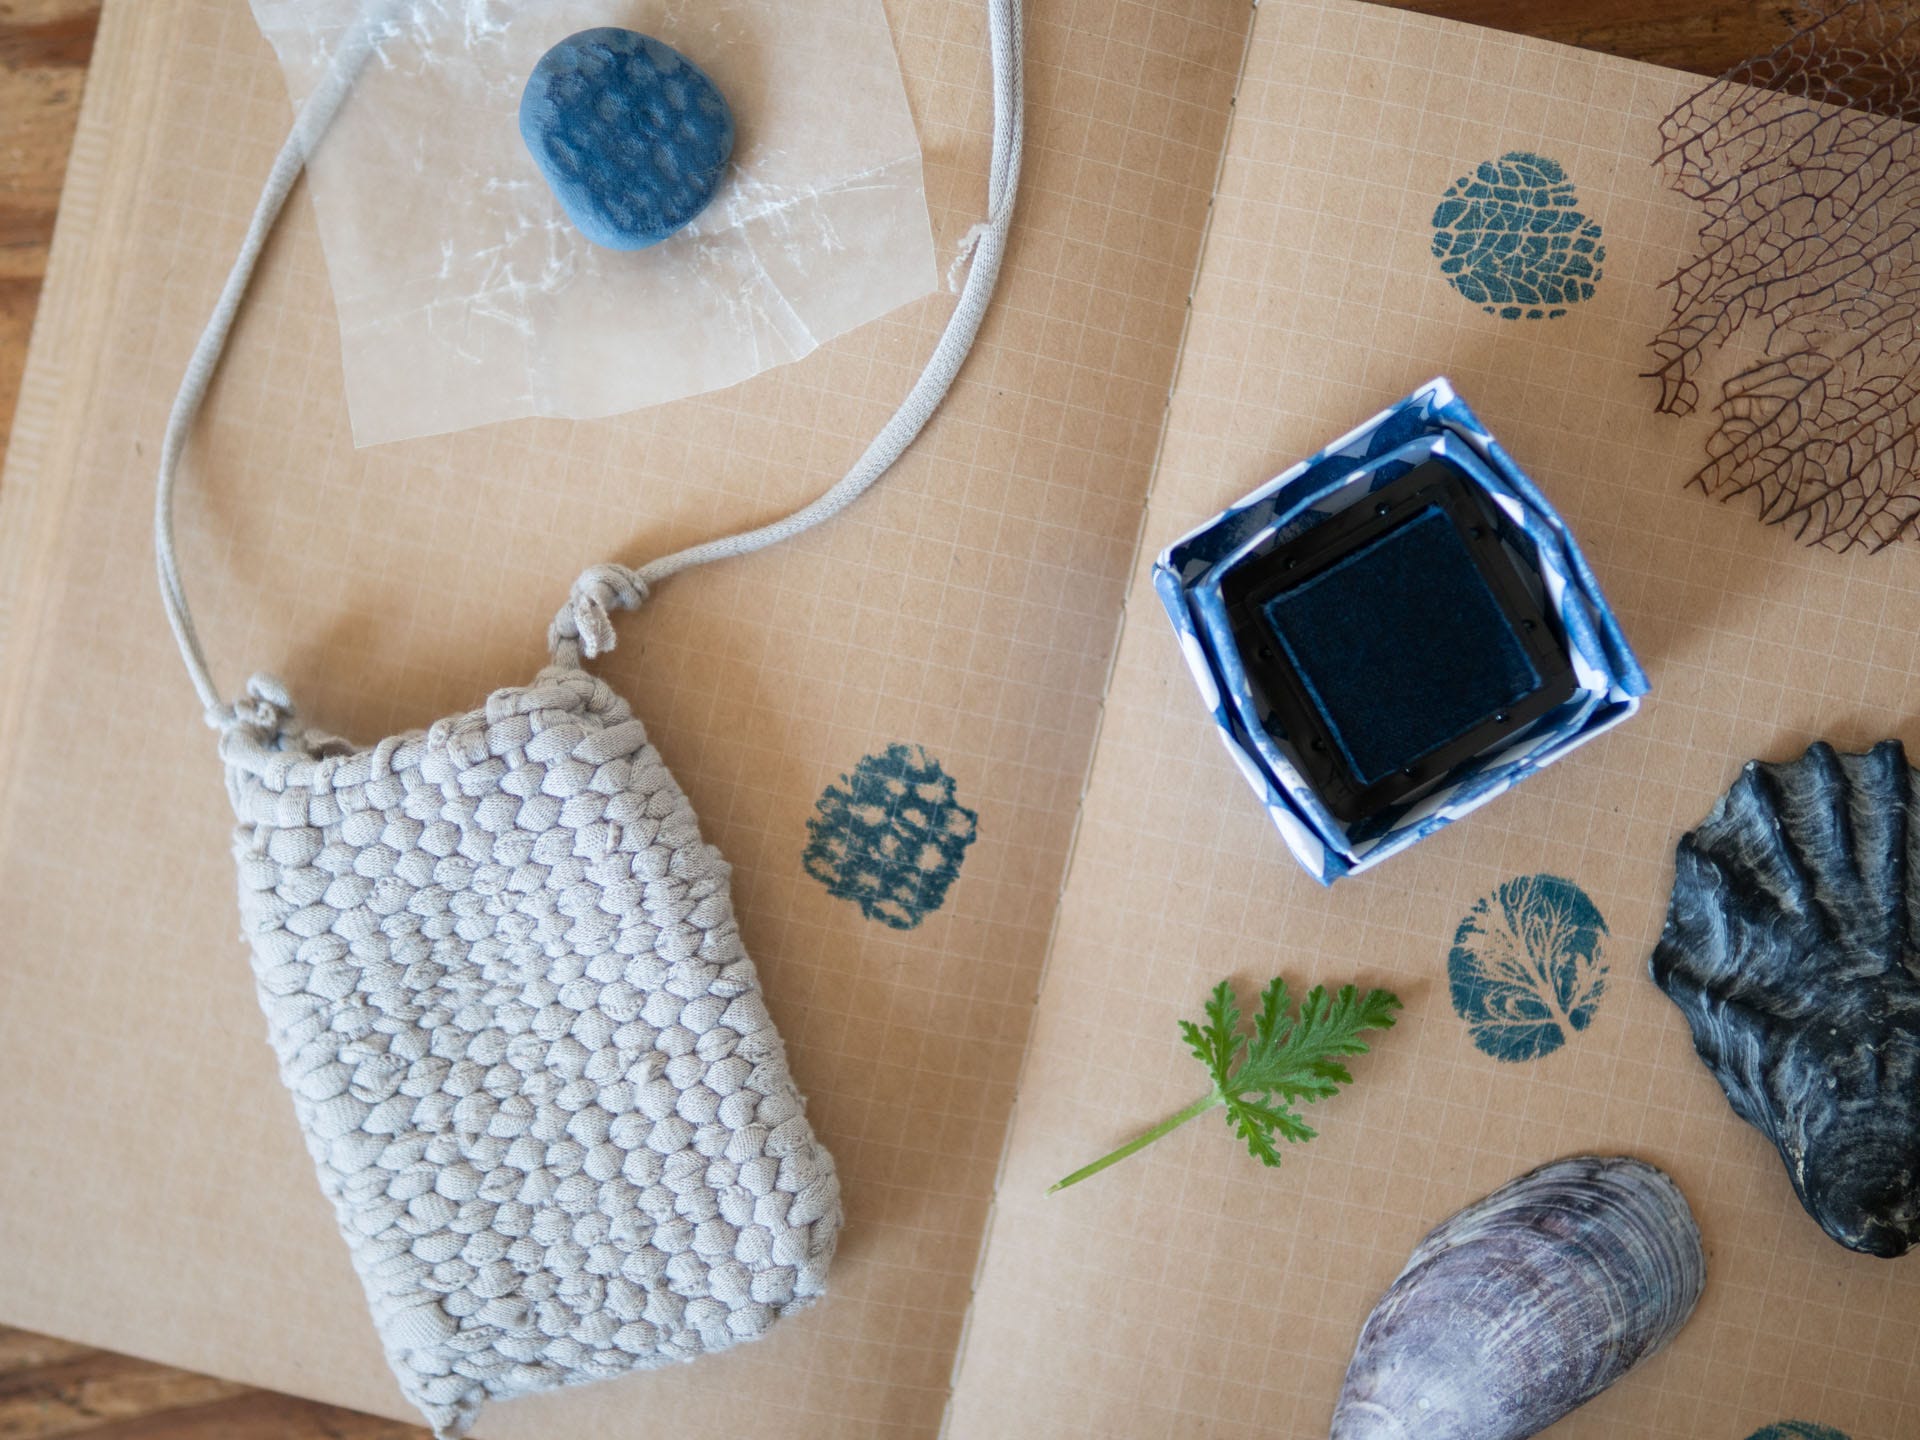
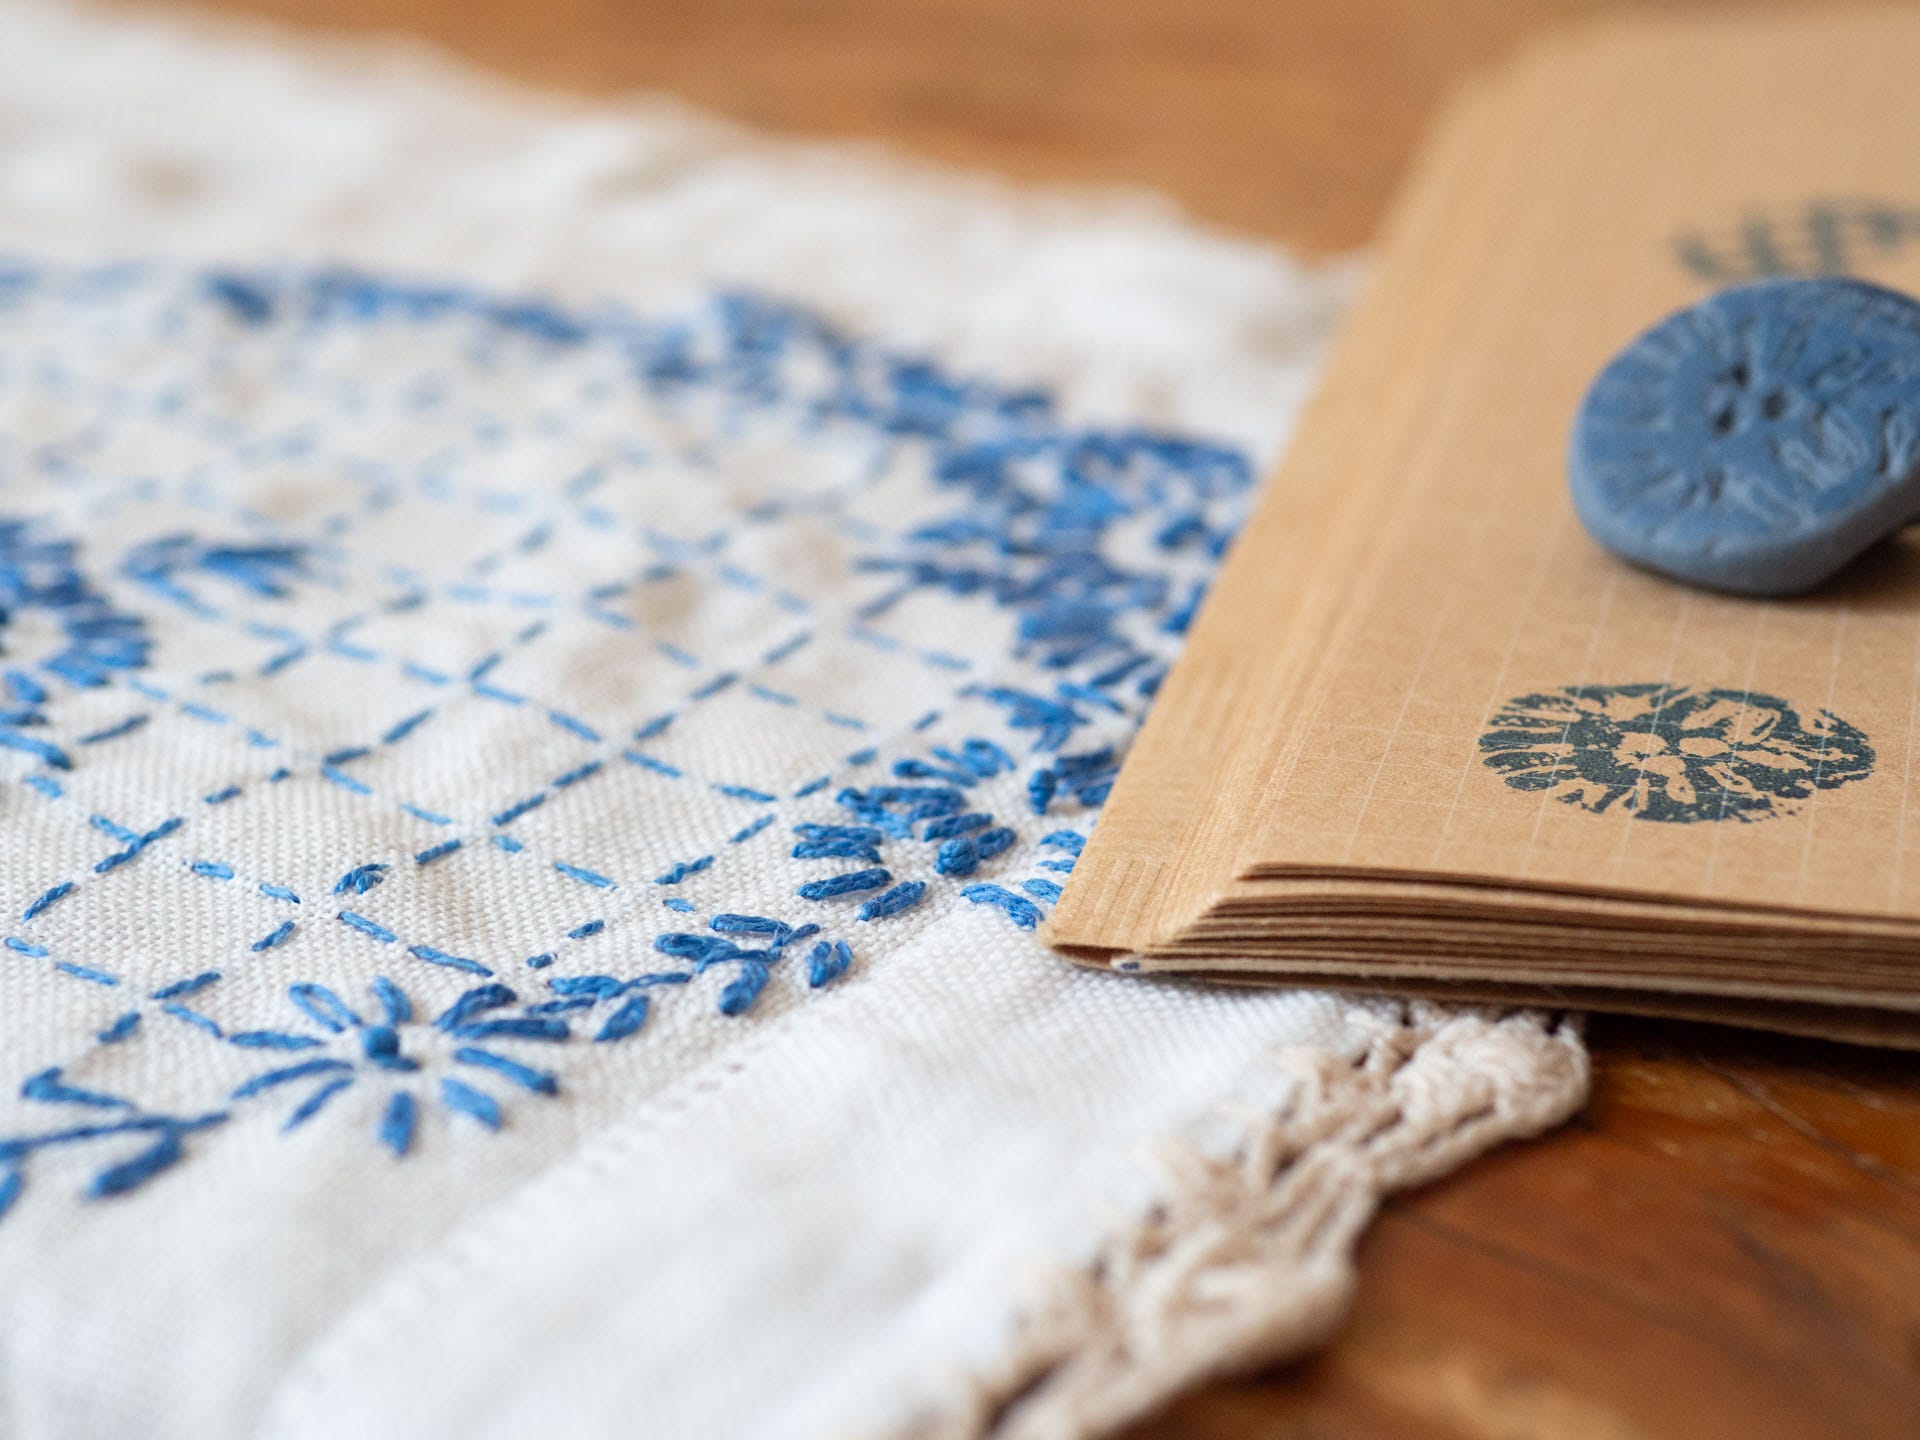
Hero Arts Just For Kids 4-Pack: These 1.25” x1.25” ink pads are the perfect pocket-sized ink pads and they come in lots of colors. (Any other ink pad you already have will work, too.)
Faber-Castell Kneaded Eraser - Size Medium: At 1-1/8" x 3/8", the medium size Faber-Castell kneaded eraser pairs perfectly with the mini ink pads. I find this size rolled into a ball and pressed makes a pretty consistent 3/4”-1” stamp which is a size I love for mini notebooks, &c. If you want more surface area, you can always go bigger. You can also always pinch off a smaller piece from a larger eraser. (I can’t vouch for other brands, but Faber-Castell kneaded erasers are PVC-free, which is more than can be said for most squishies!)
Waxed Paper: Many kneaded or kneadable erasers come wrapped in plastic, but in my experience this tears very quickly. I’ve had good luck cutting a square of waxed paper or parchment paper to keep my eraser fresh.
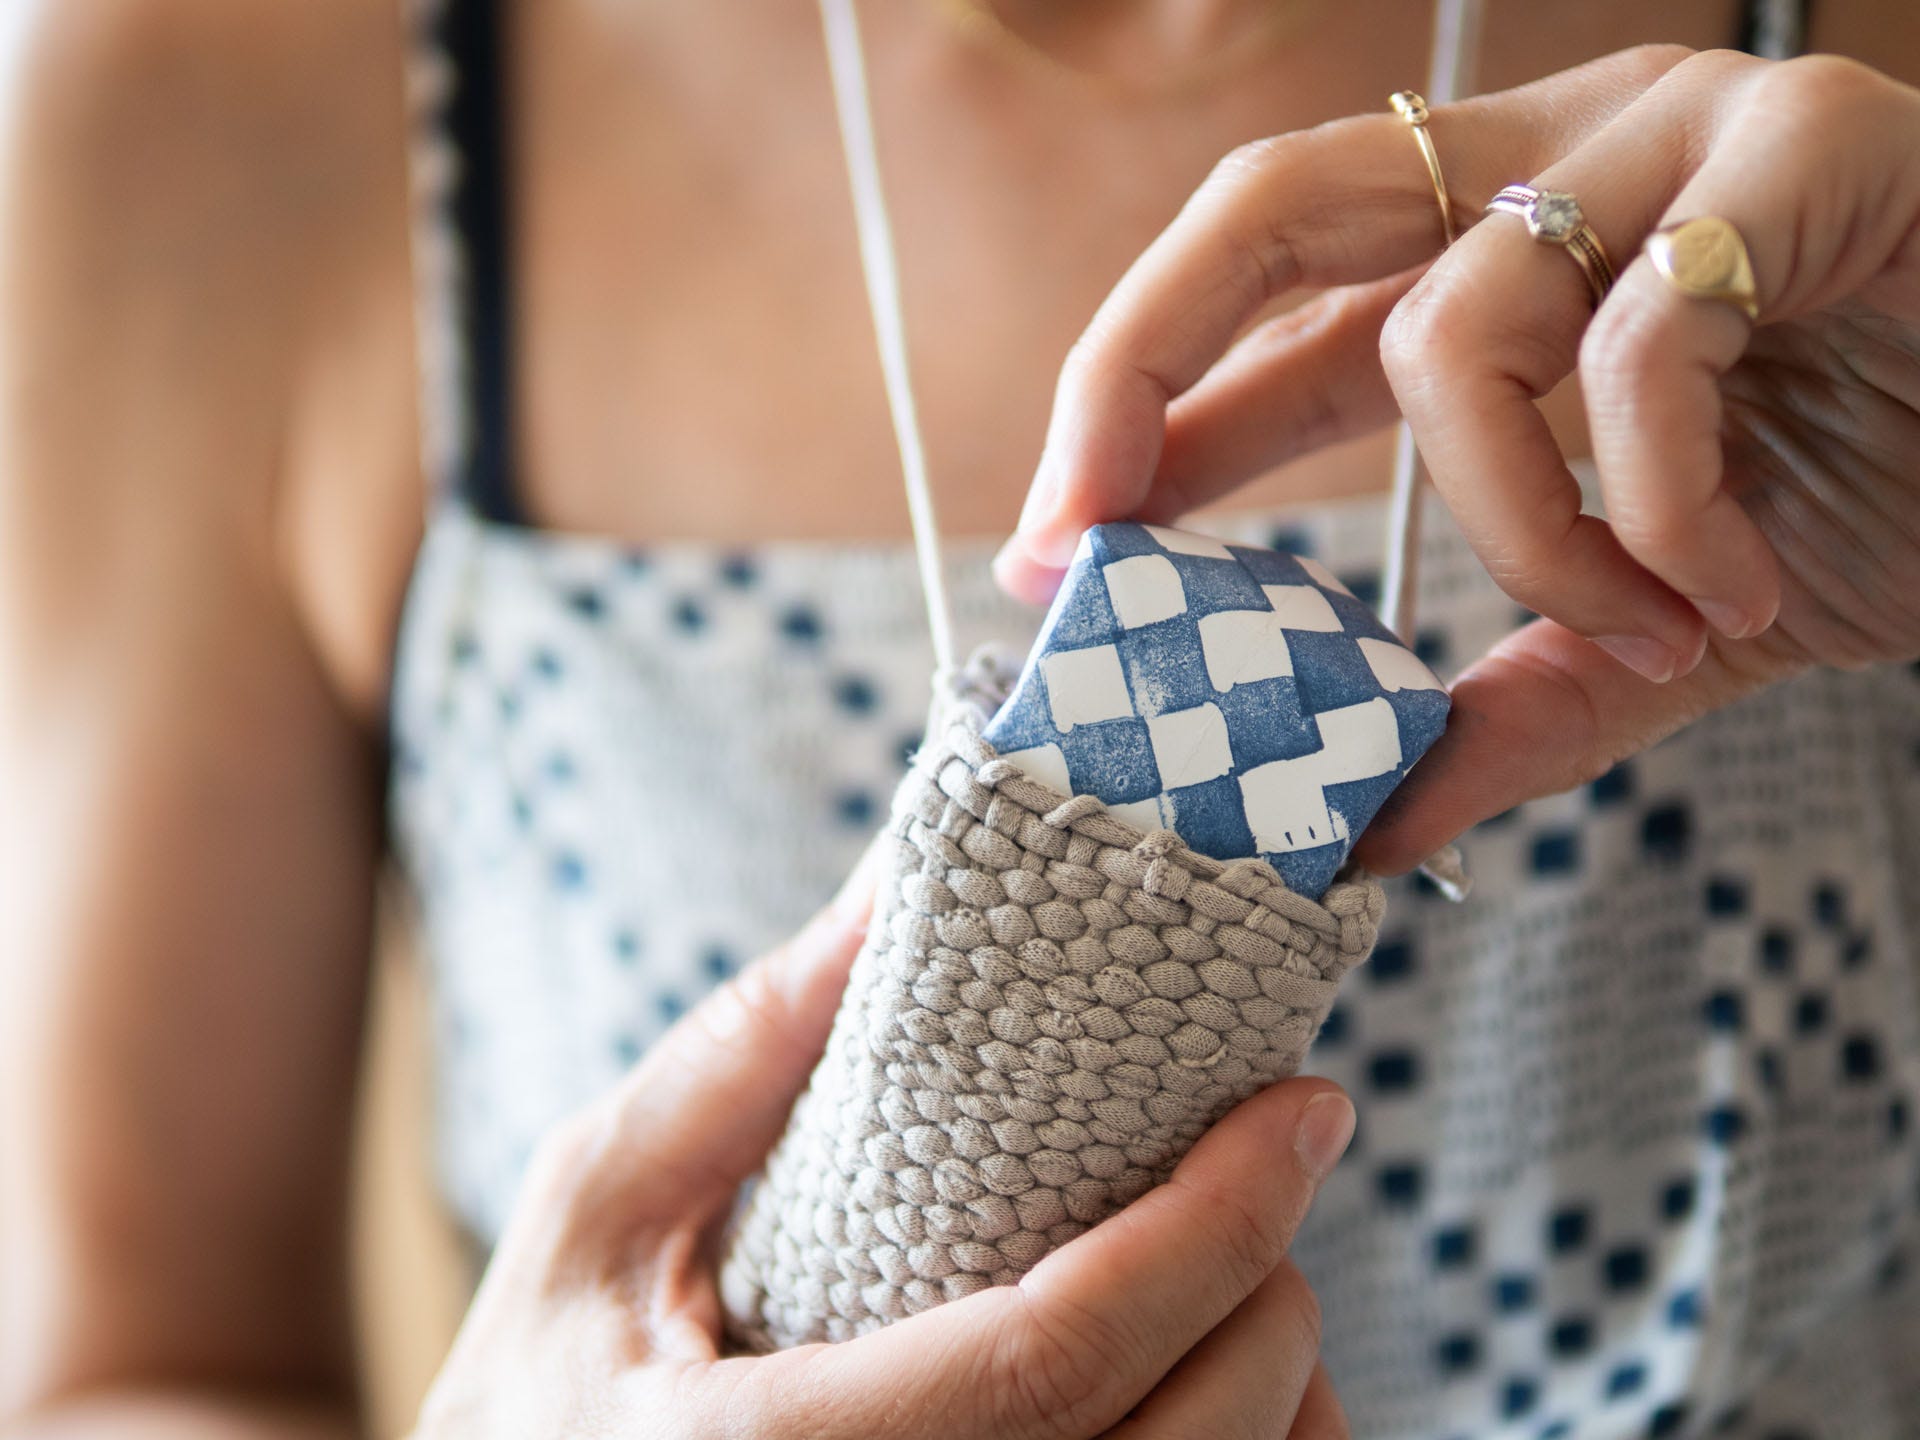
Masu Box: An origami masu box is the perfect vessel for this crafting duo. To make a box sized to fit both ink pad and eraser, start with two squares of paper. One should be approximately 4 1/4” square and the other should by approximately 4 1/2” square. All of the instructions for folding are here, and in Making Things. Once you fold your box, just fit the wrapped eraser into the bottom of the box followed by the ink pad. There’s a little cavity in the bottom of the ink pad, so both fit beautifully into a classic square masu.
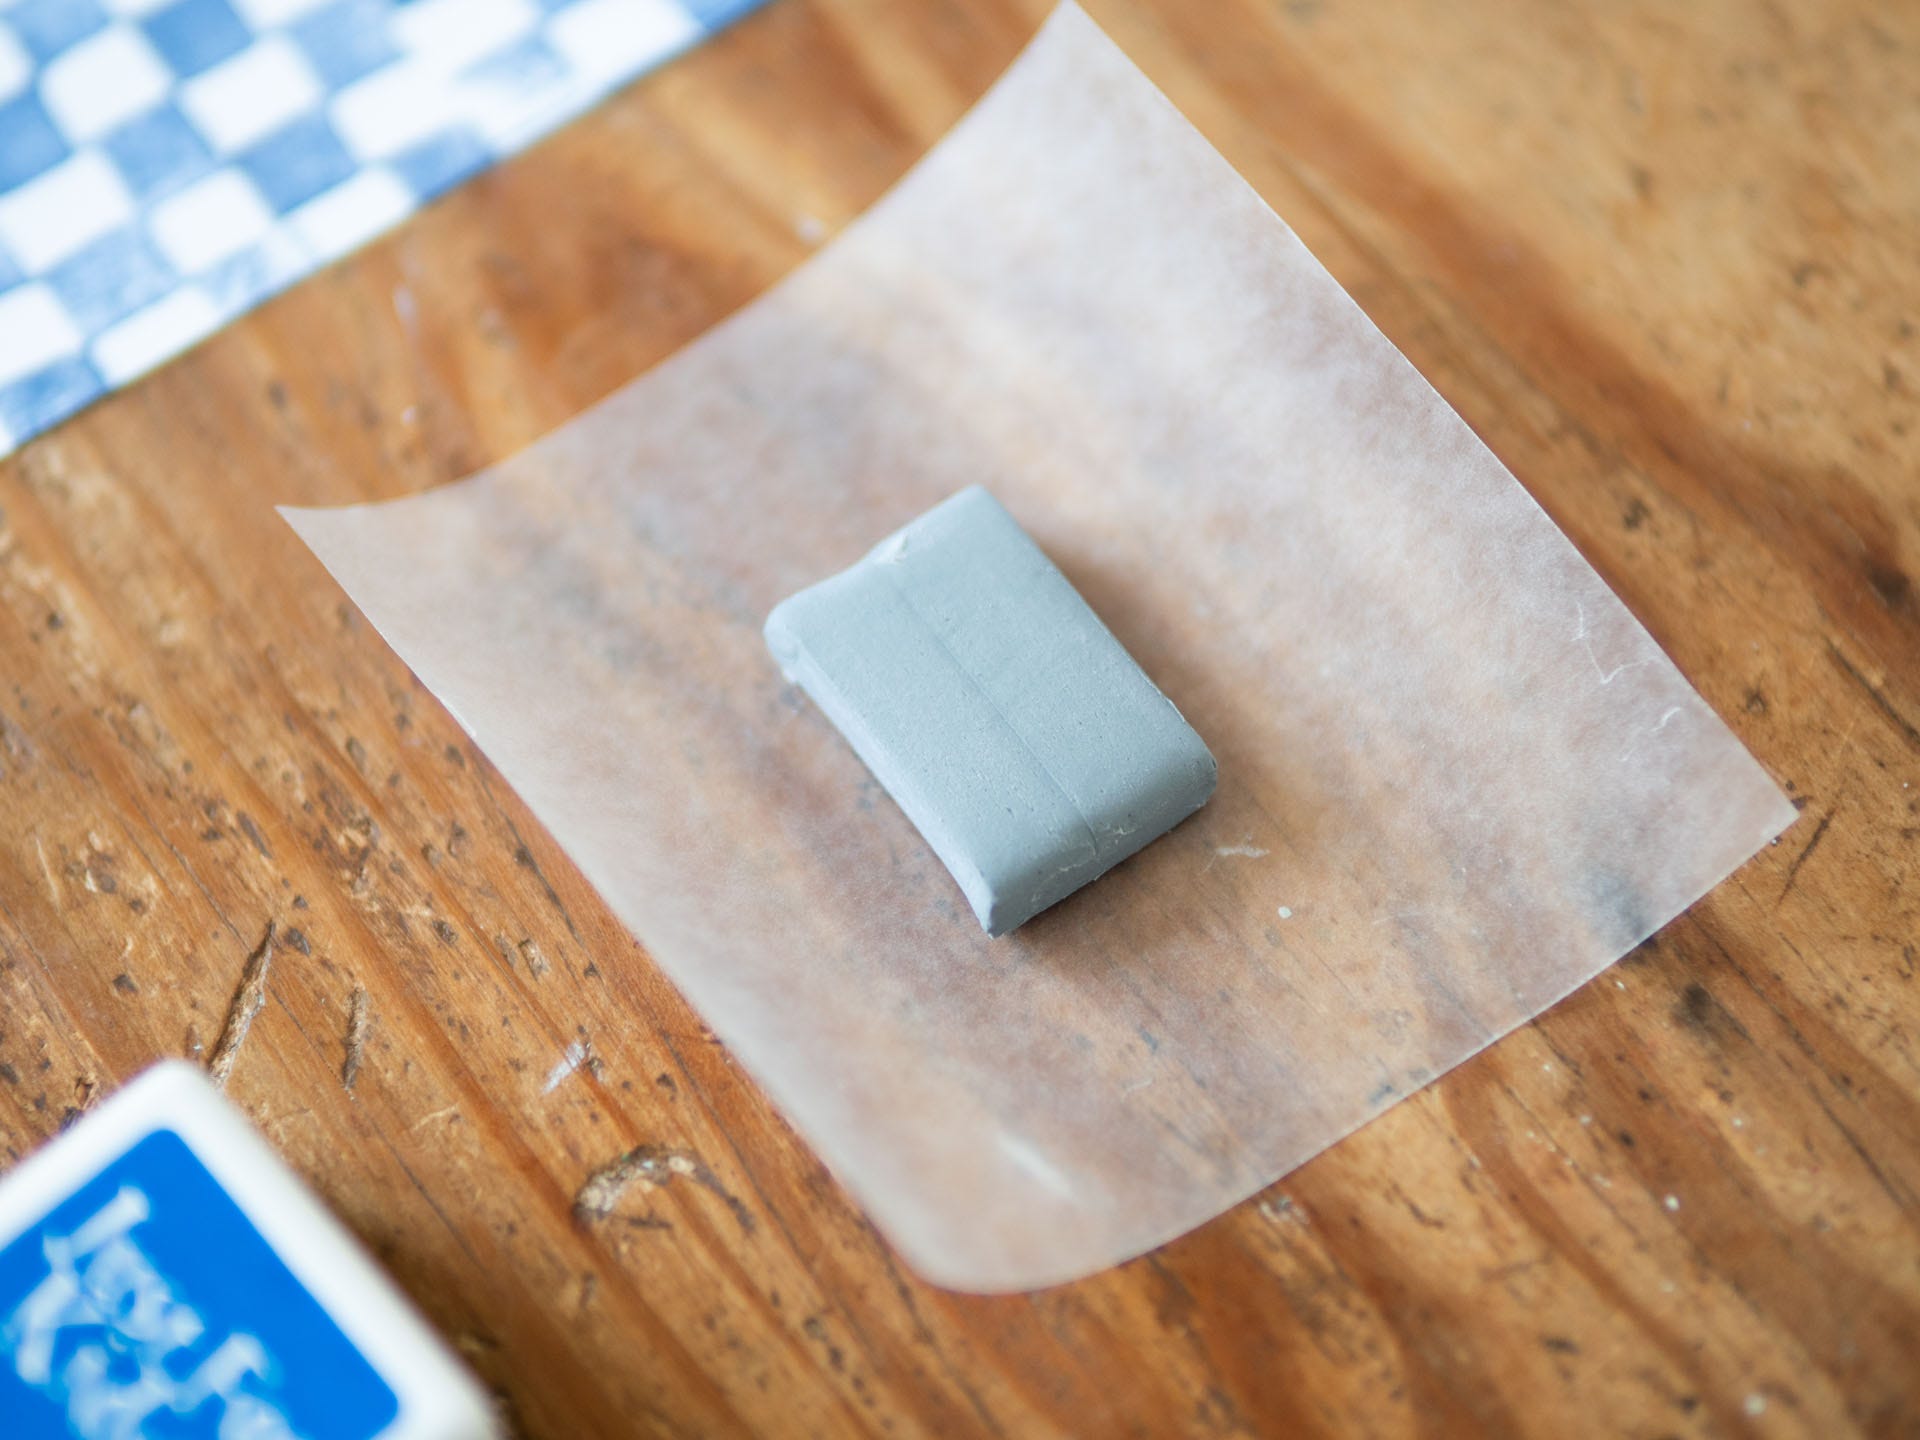
Kneadable eraser, ready to be wrapped in waxed paper. You can reuse both eraser and wax paper over and over again.
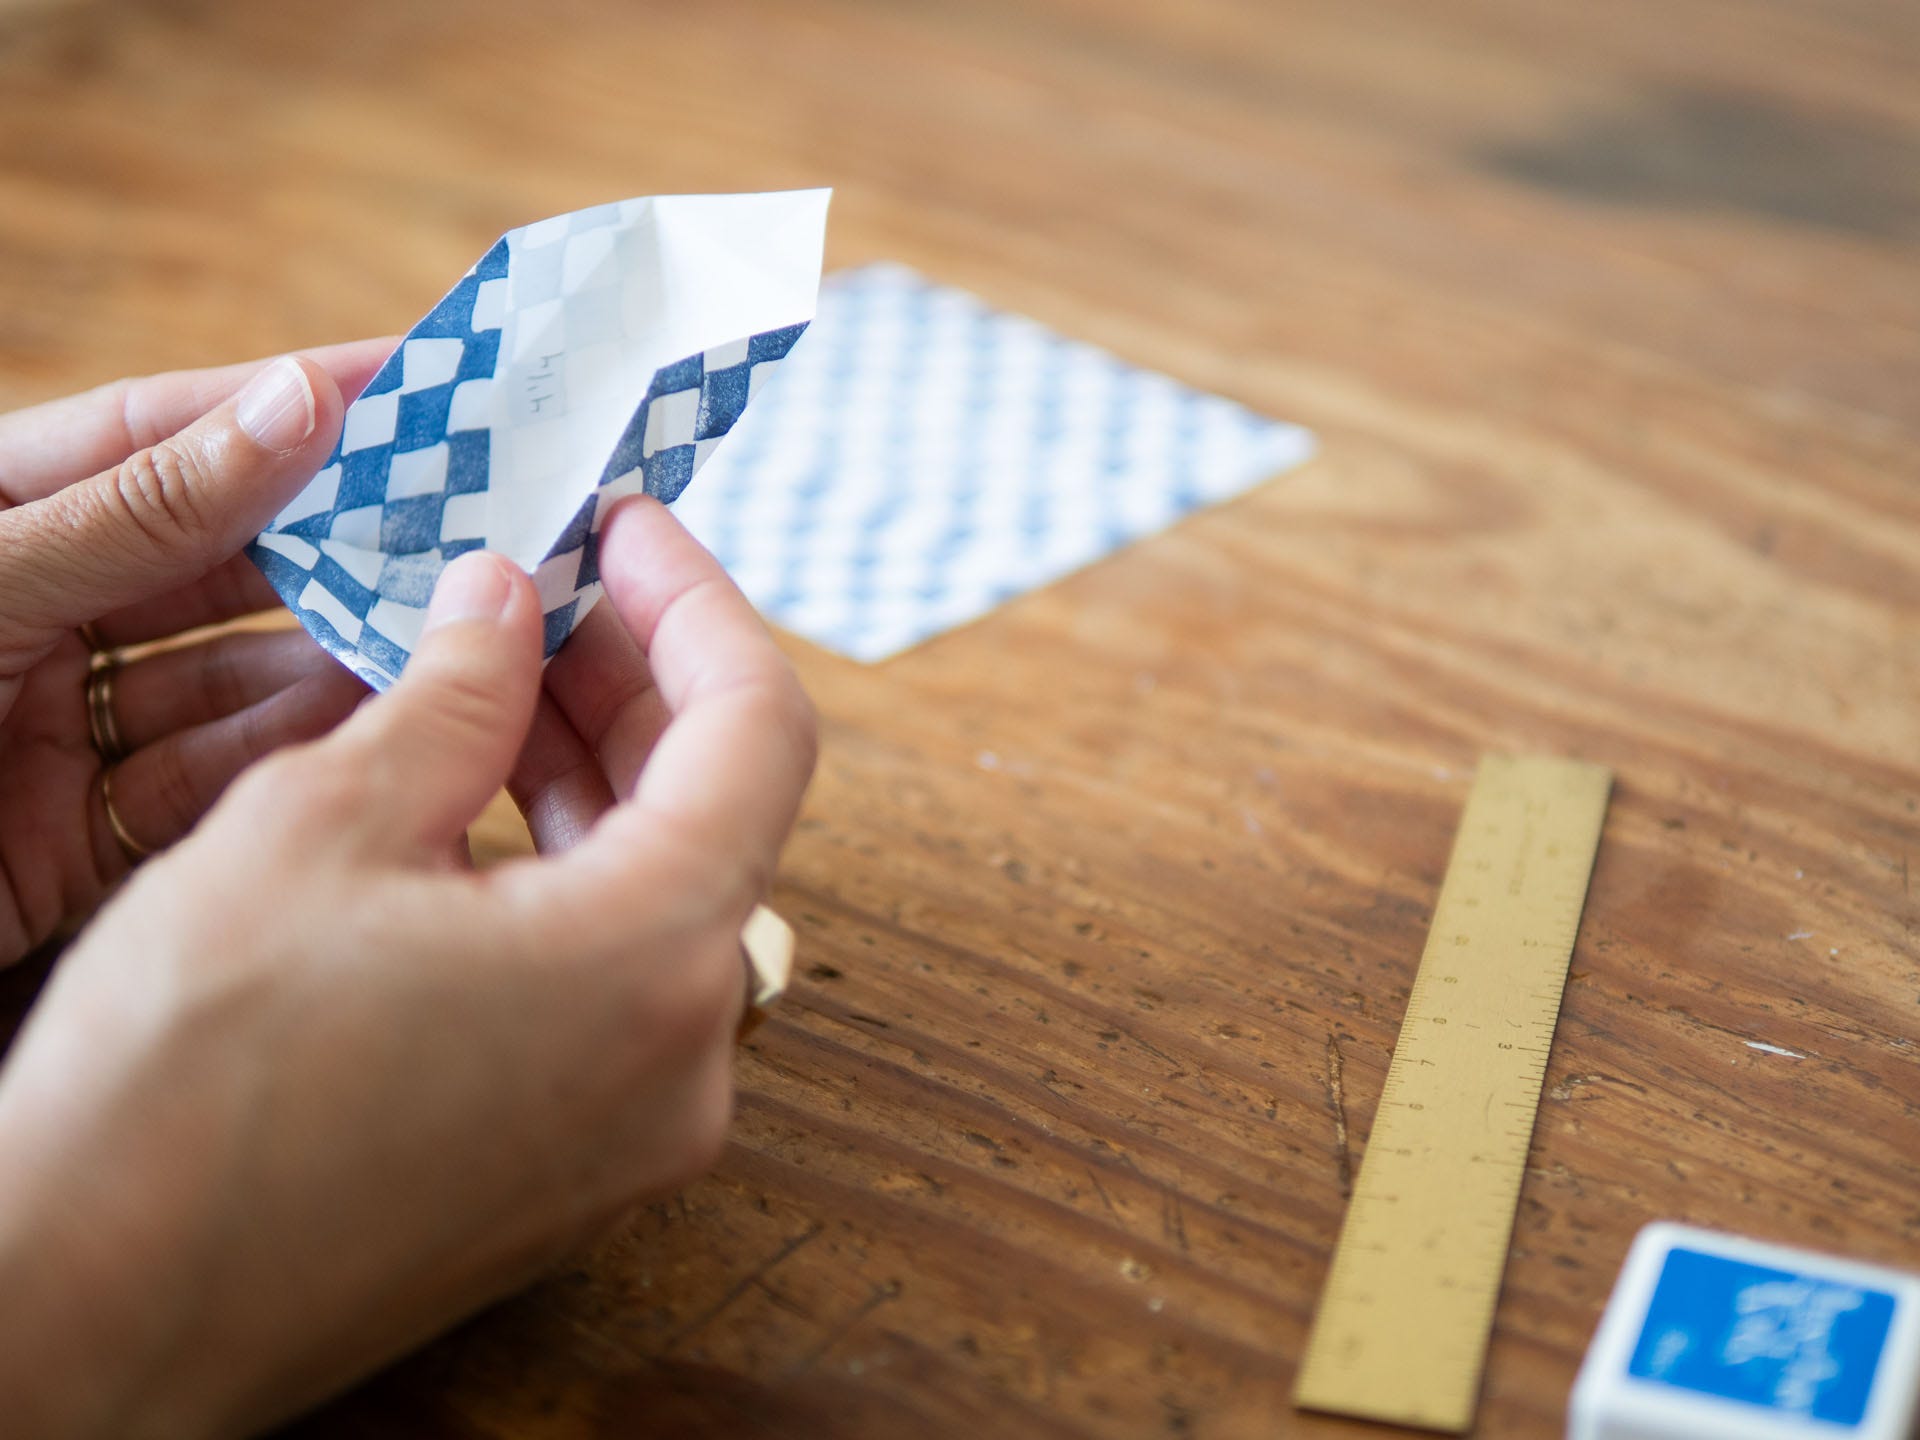
Origami masu box in progress. You can use tons of different papers to make these boxes, including origami paper, but I especially love repurposing kid art and matte catalog pages. For the box shown here, I used a square of notebook paper I’d covered in a checkerboard stamp.
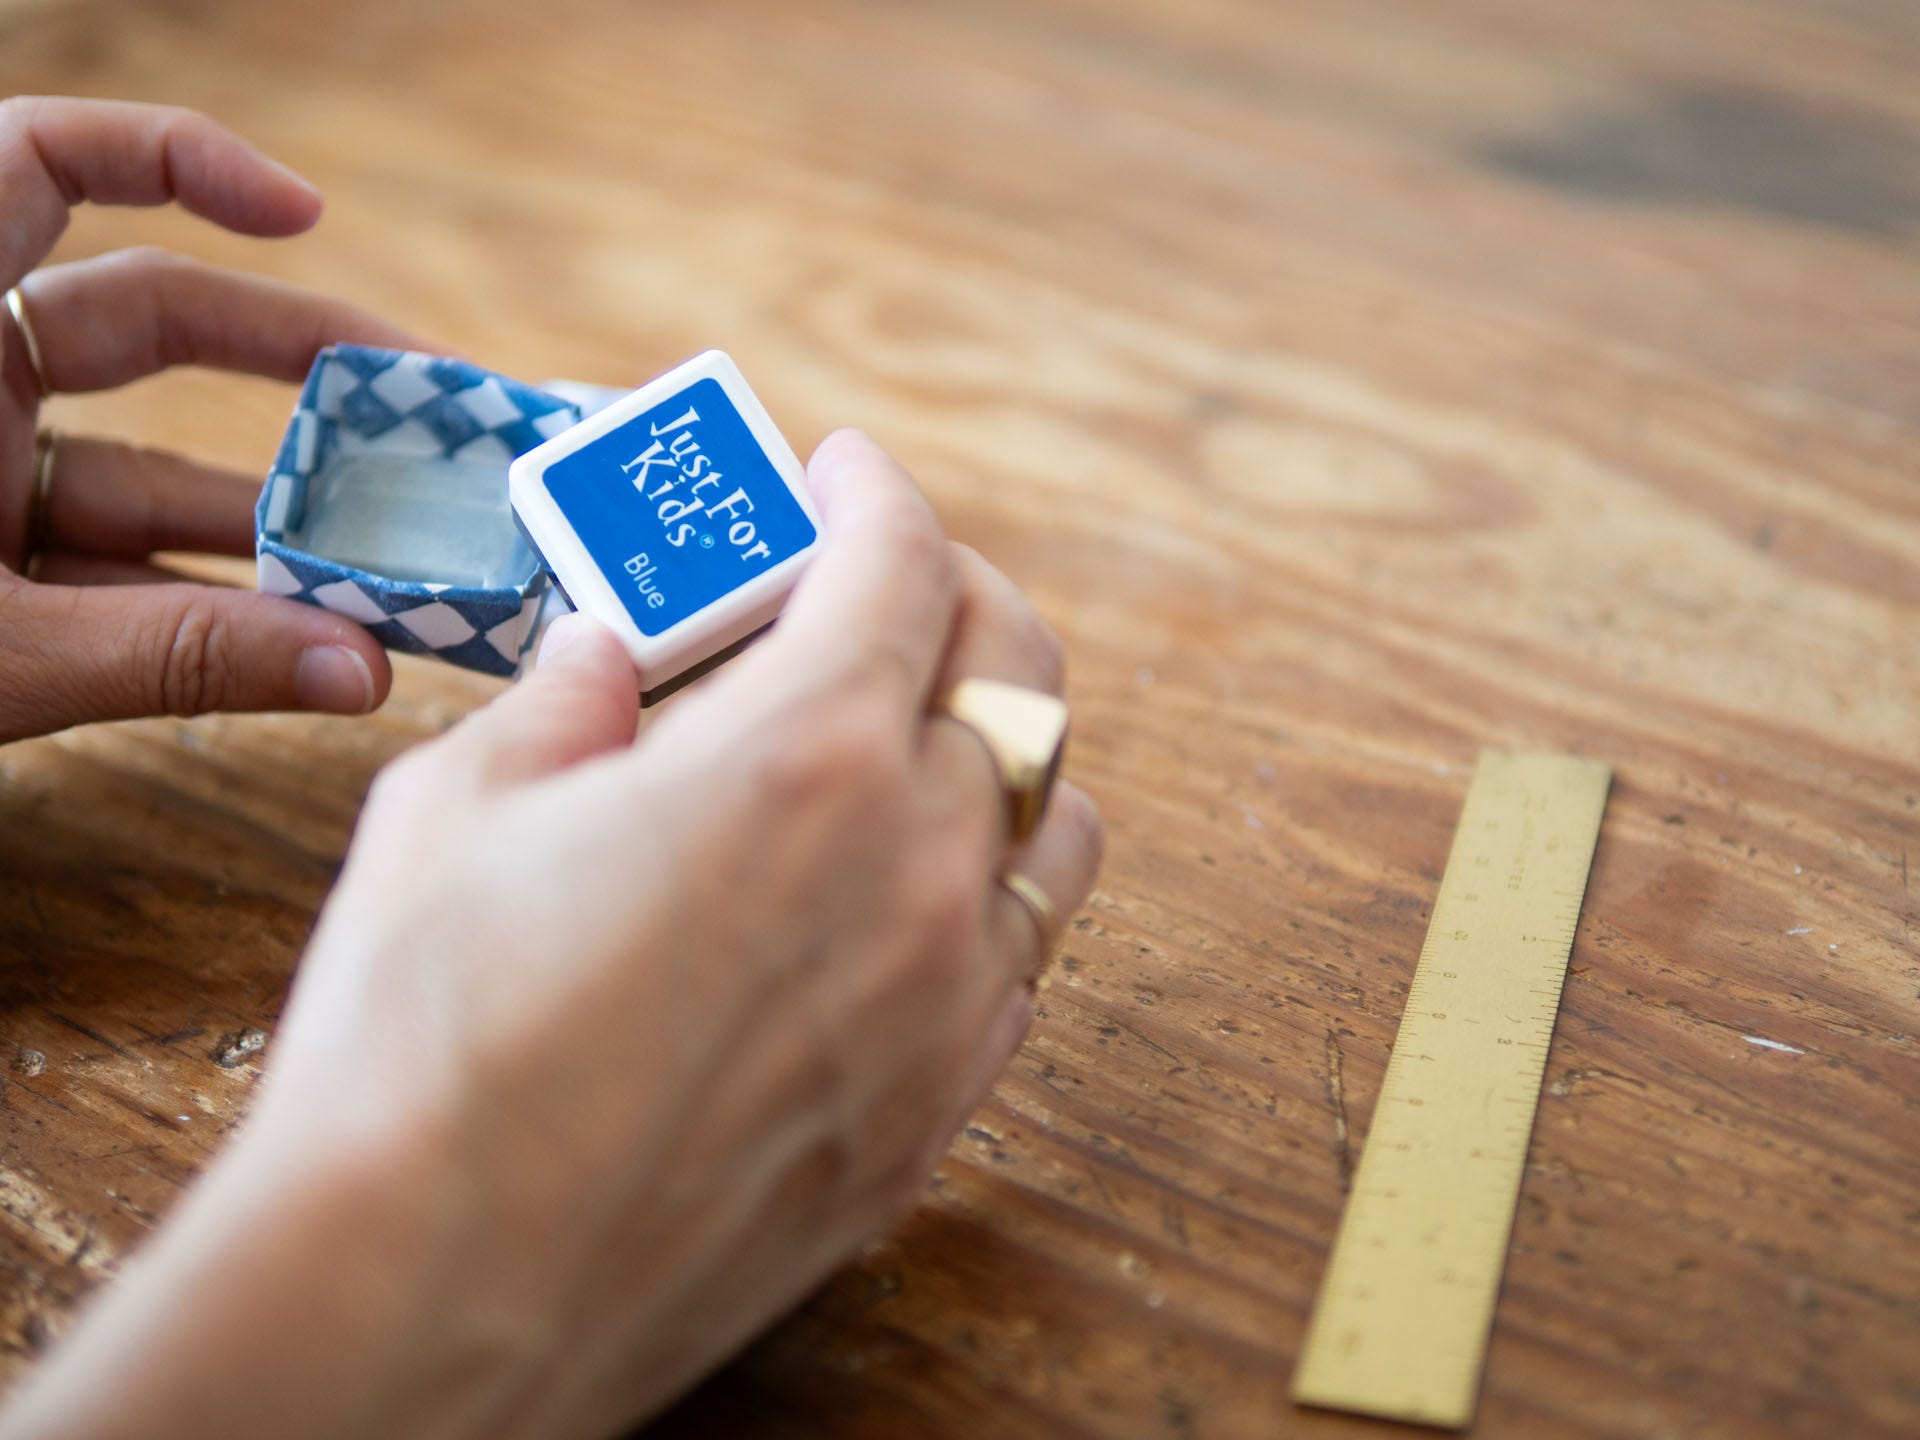
I put the eraser into the bottom of the box first and then add the ink pad on top.
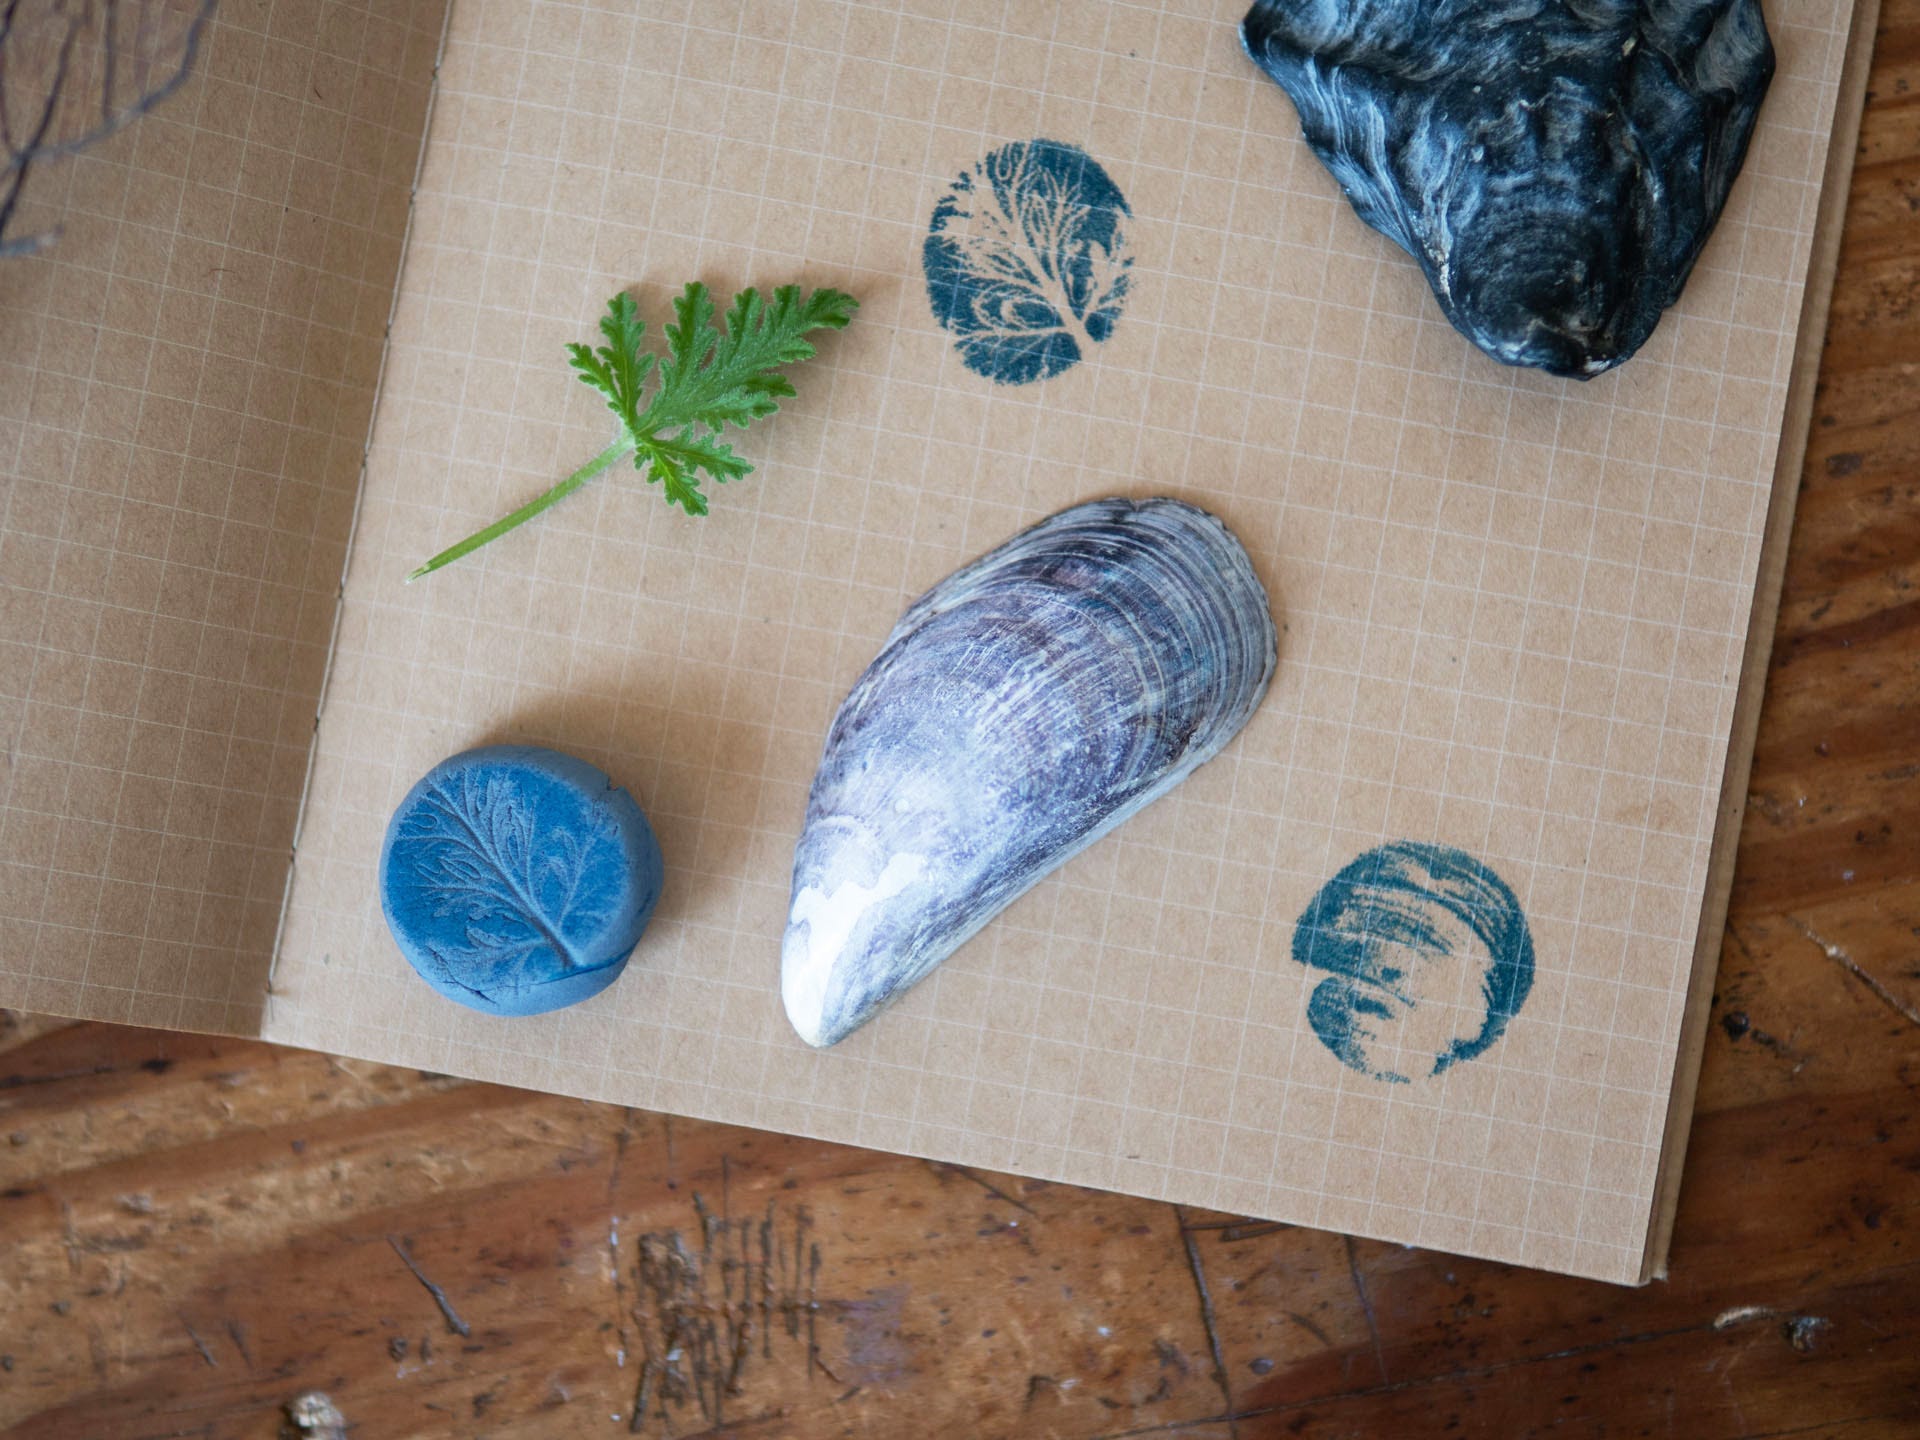
You can gather your stamping materials or take your box with you as you wander. The sky is really the limit in terms of what you can stamp, but I’ve found the smaller the detail and the more relief, the better!
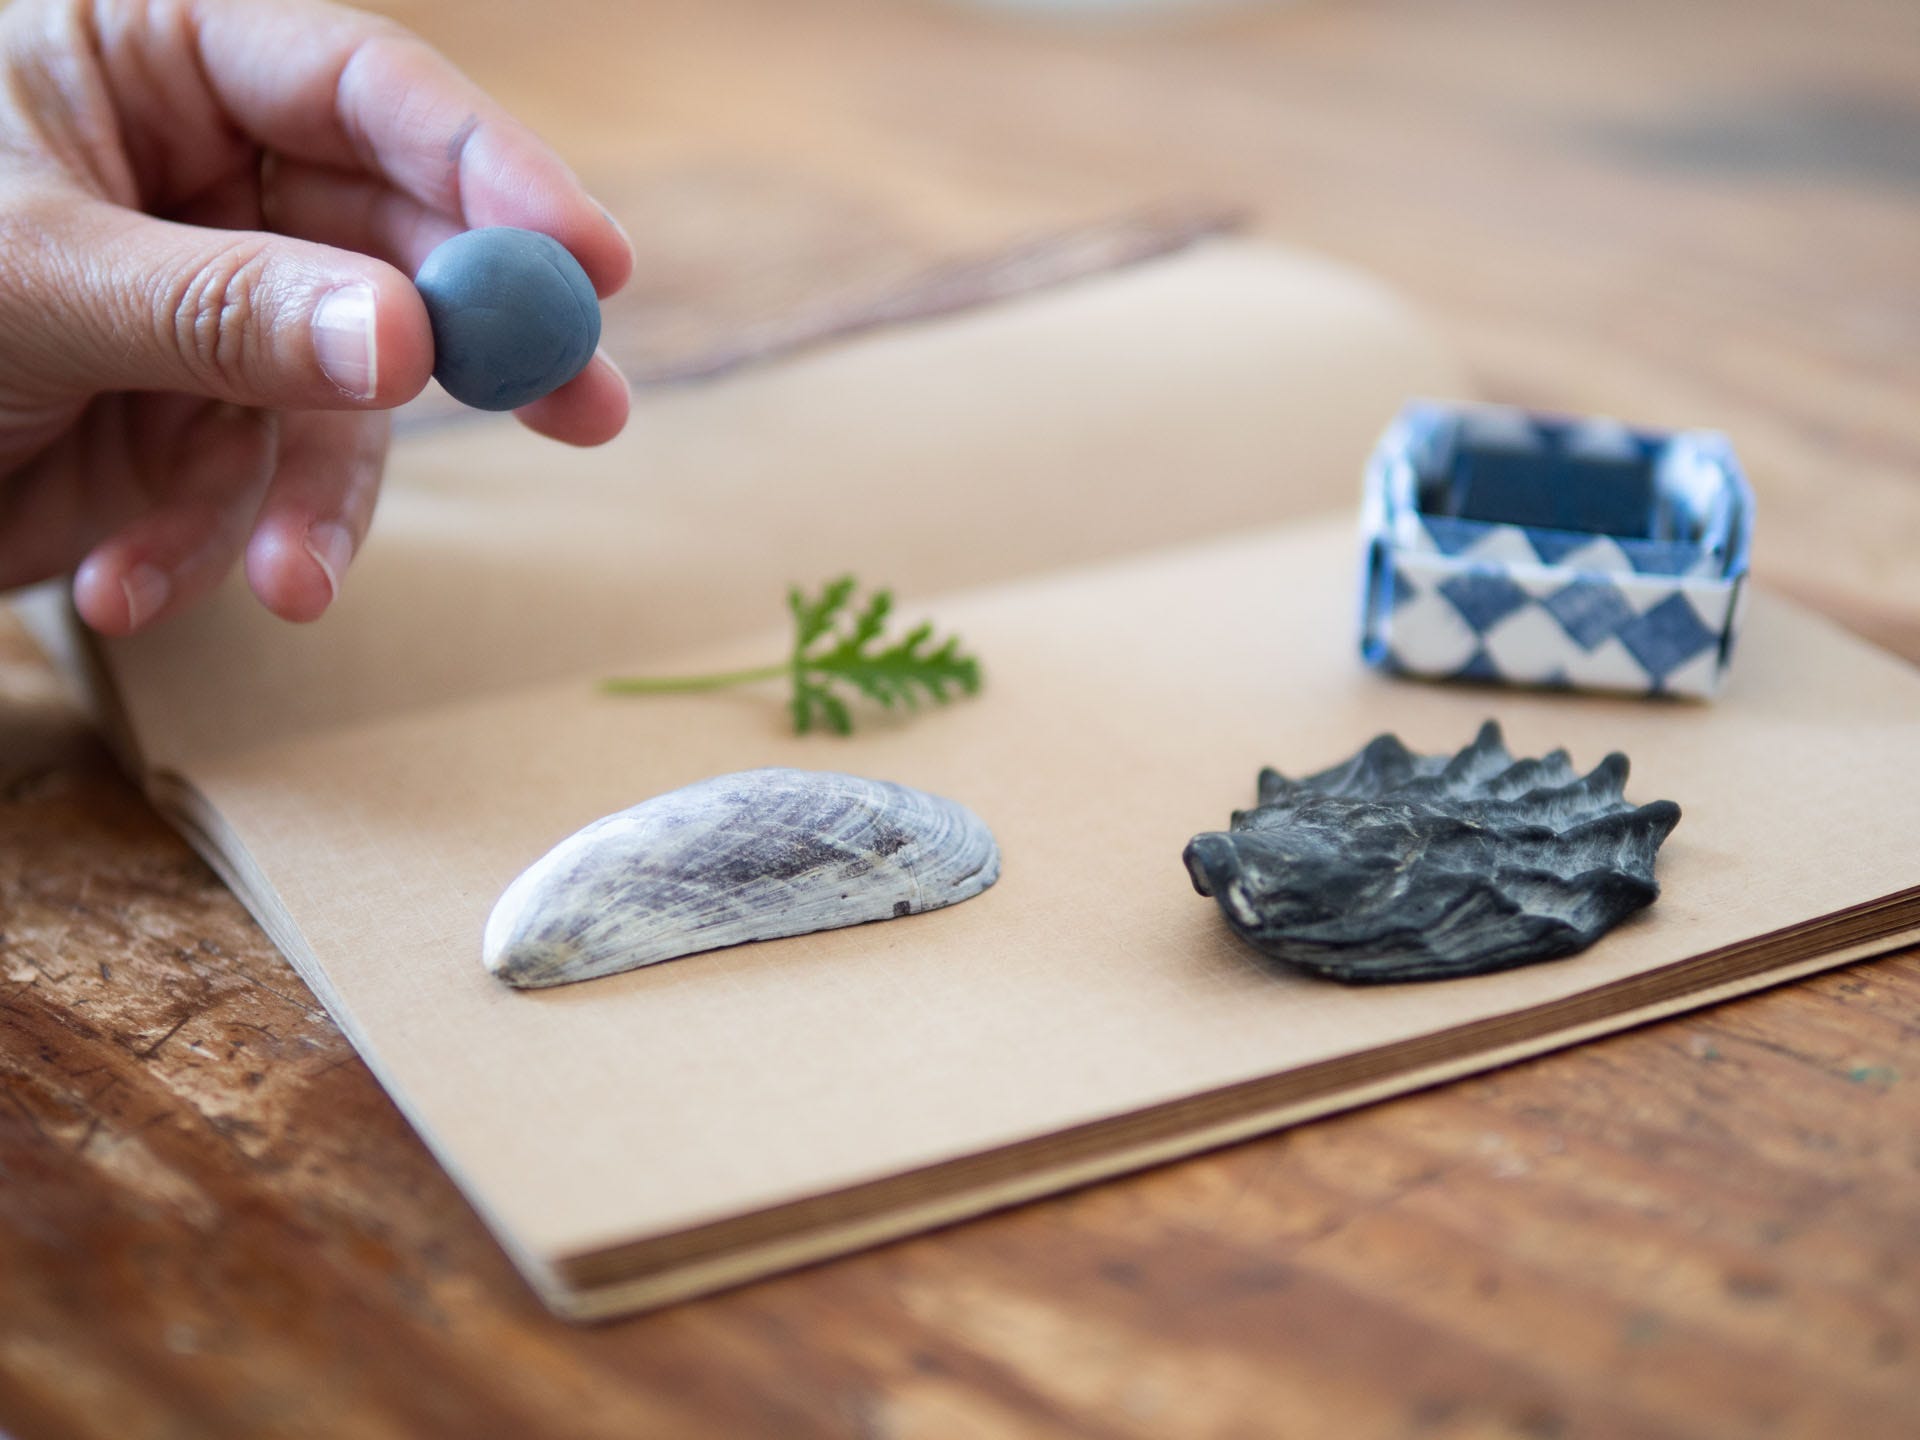
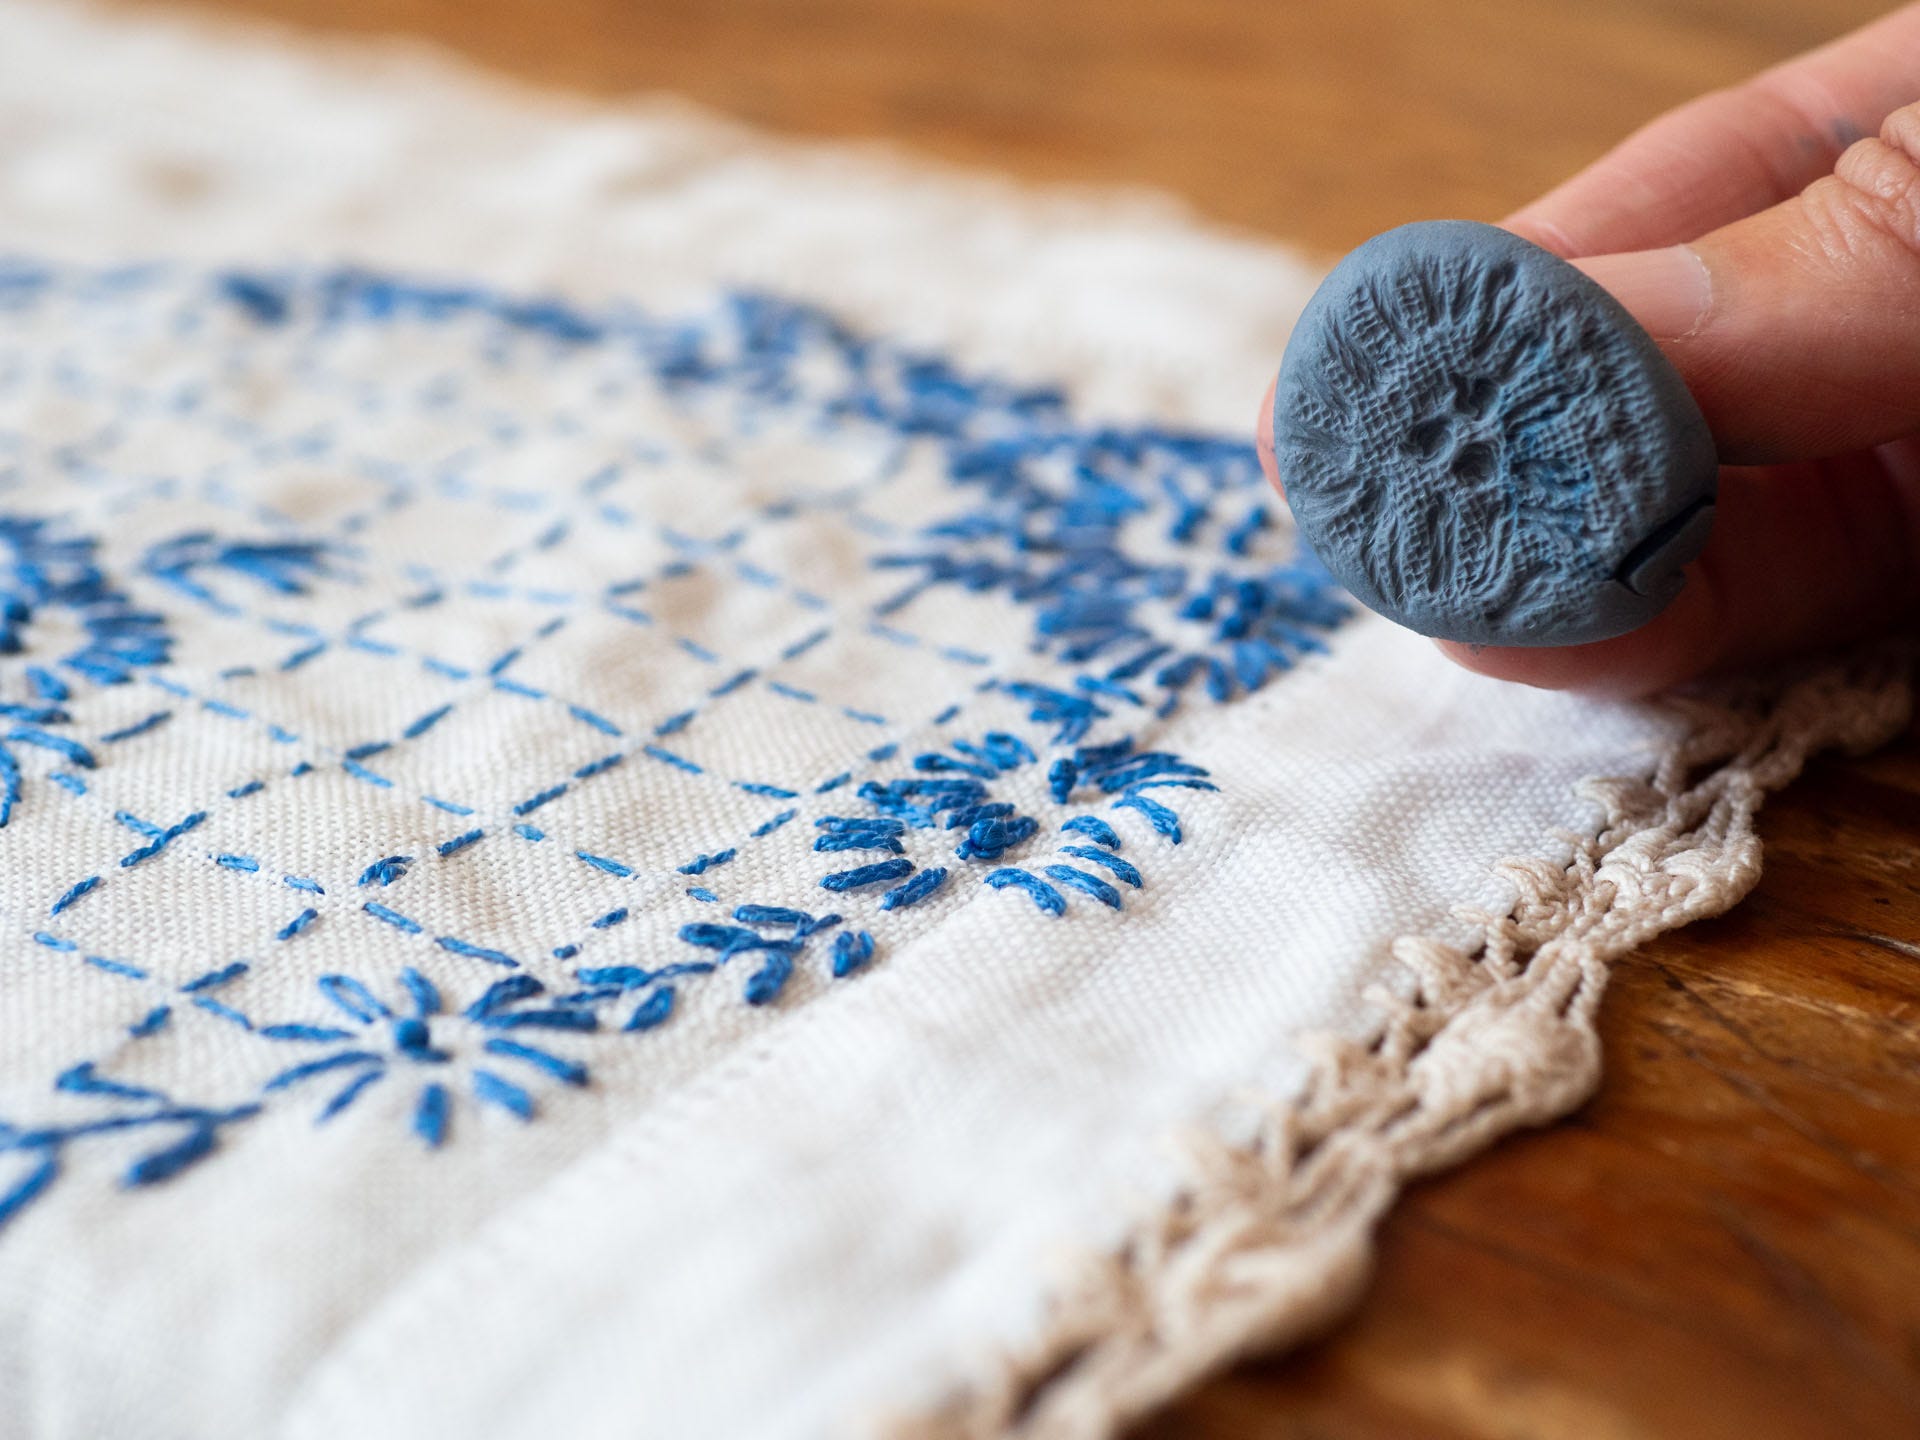
I always start by rolling my eraser into as smooth a ball as possible.
The best results come when the eraser is pressed quite firmly, but not stretched so thin that it becomes difficult to peel up.
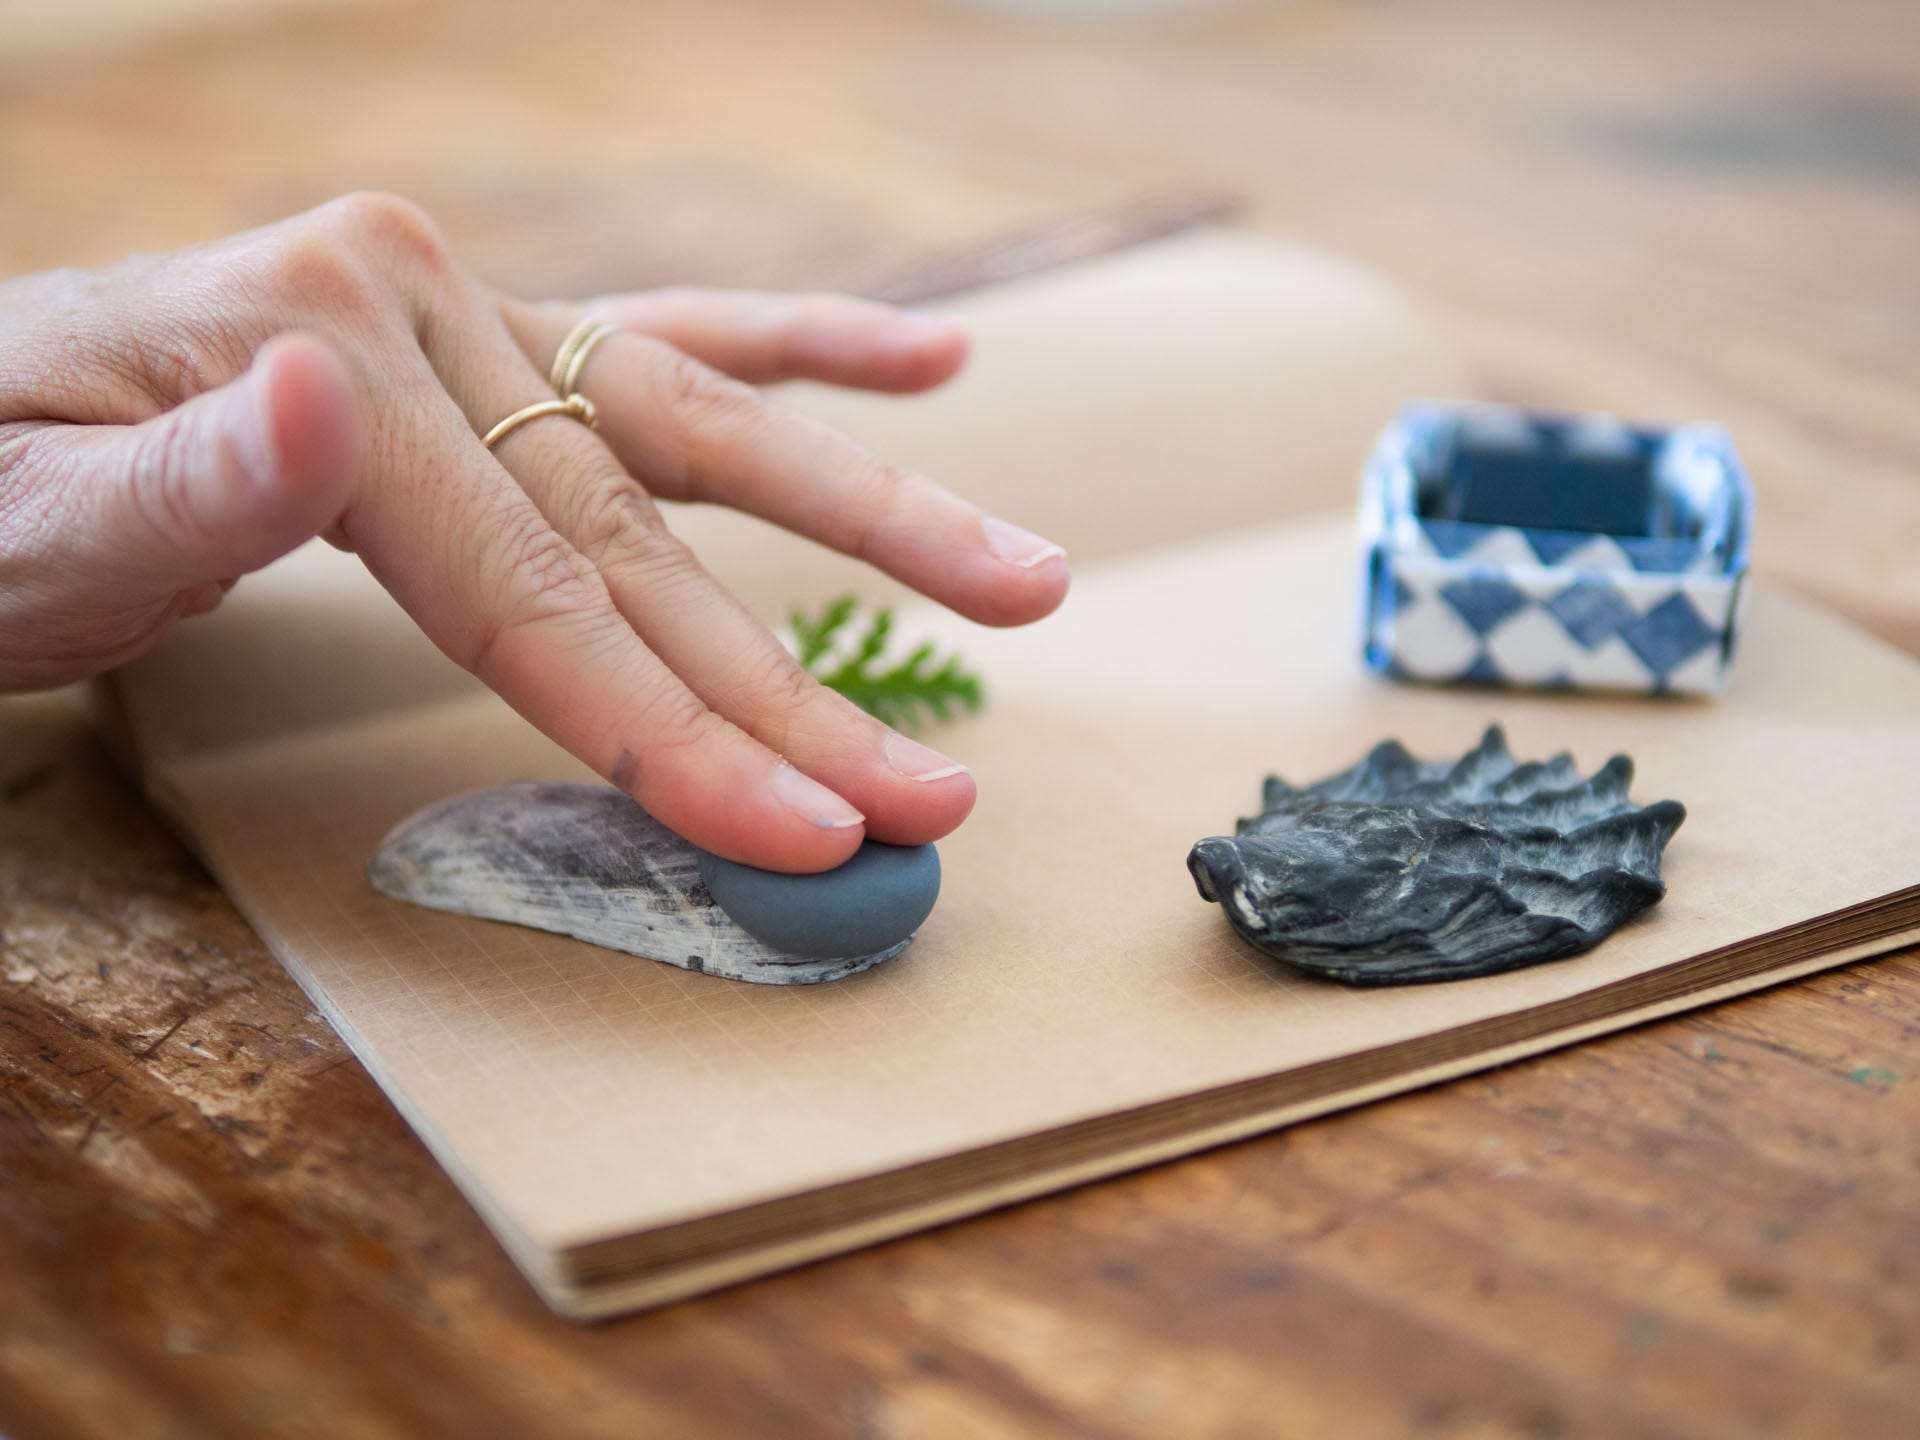
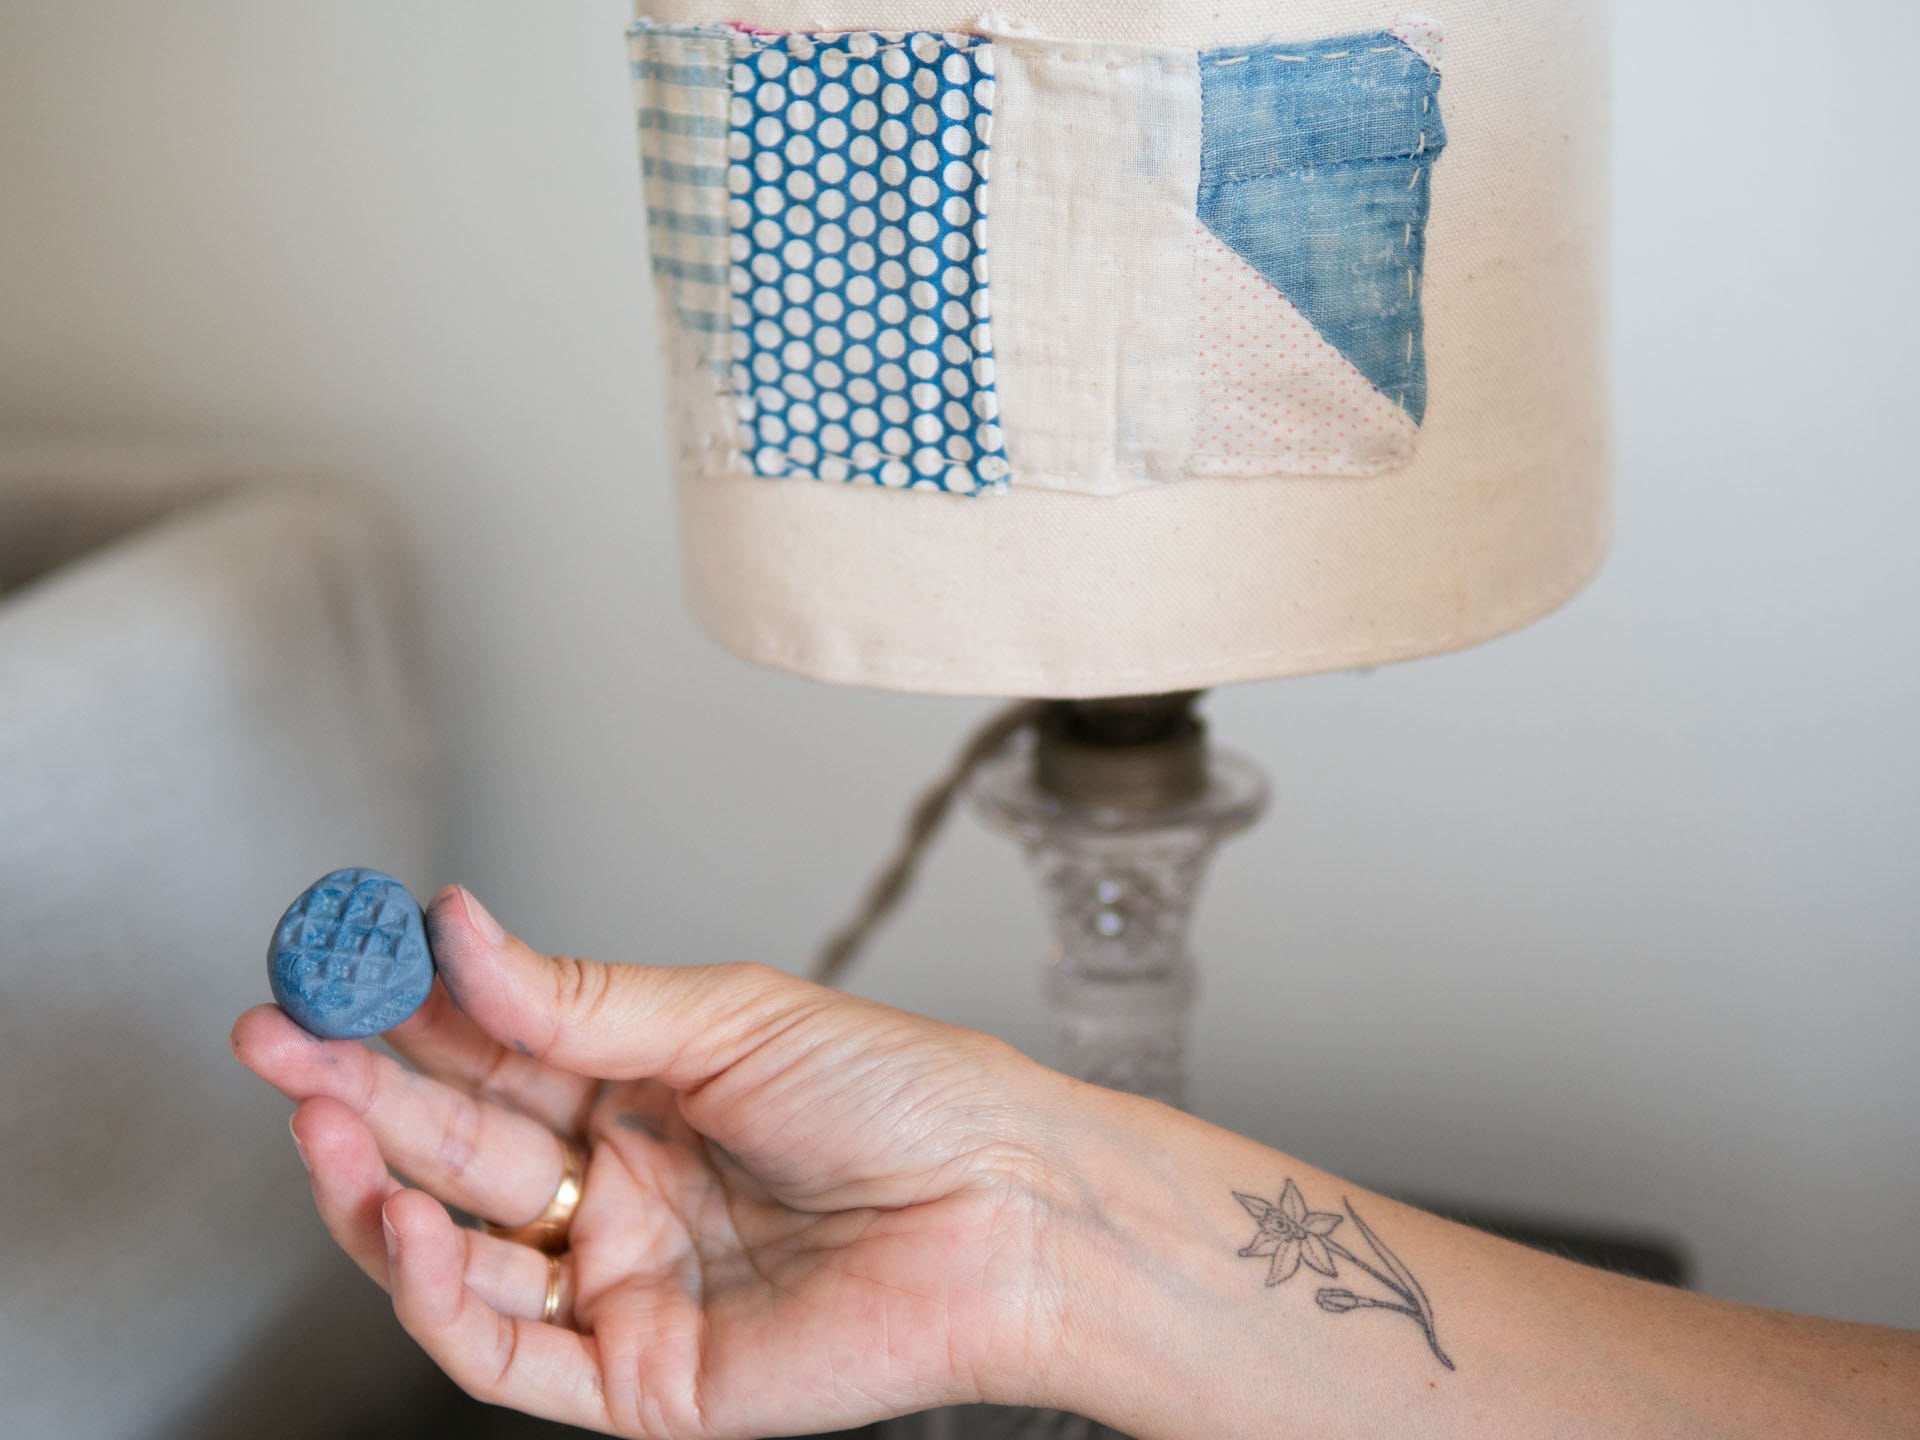
In my experience, smushing the eraser into a circle with about an inch-wide diameter makes for the best results.
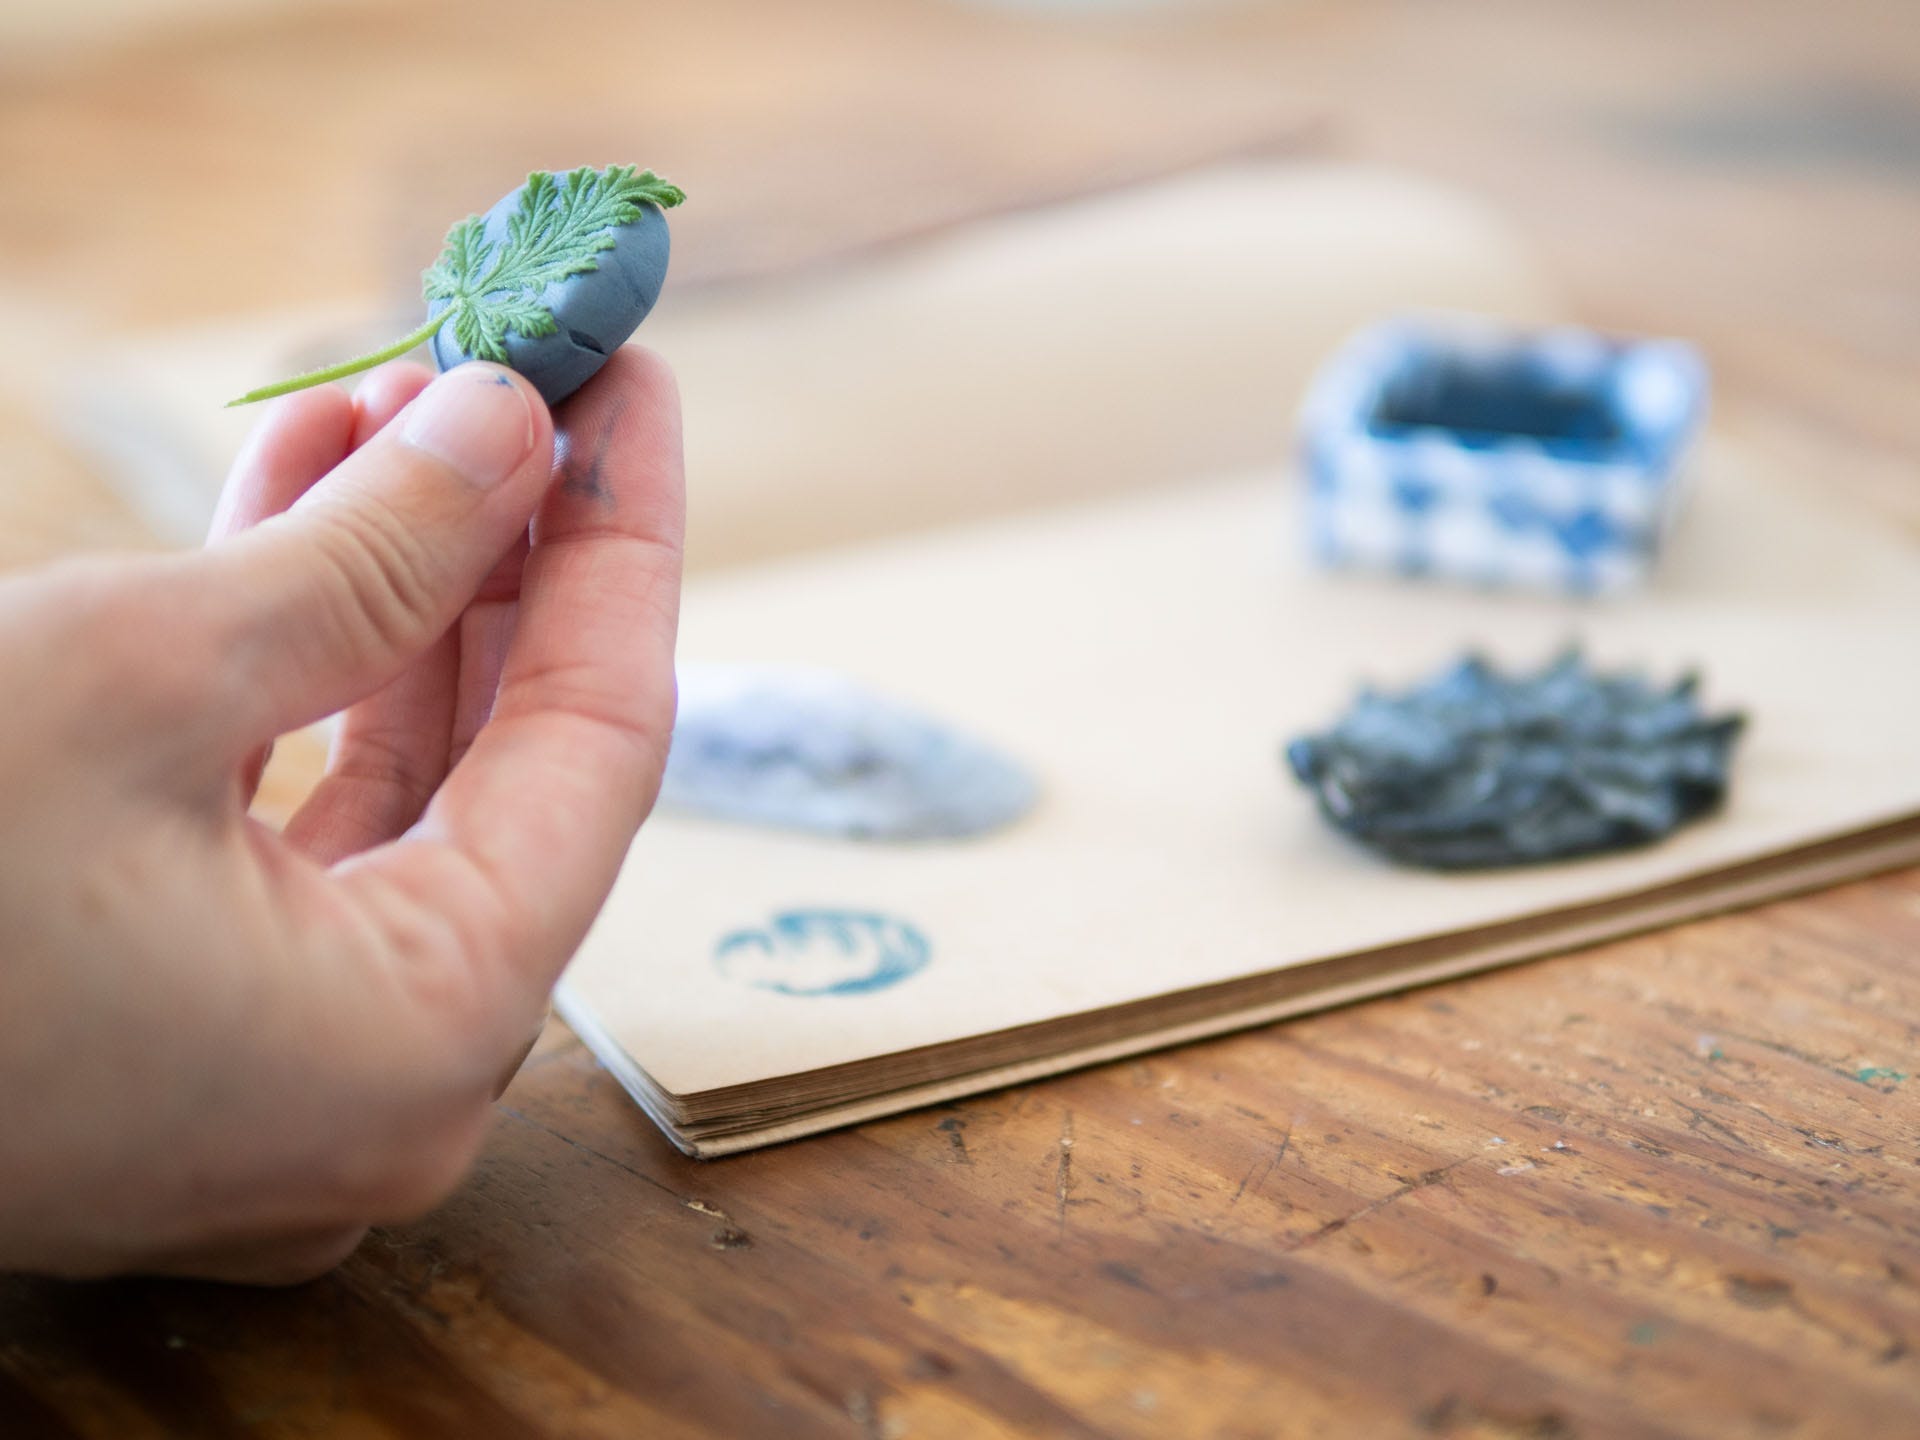
When pressing leaves, I have the best luck pressing with the underside of the leaf facing the eraser to maximize the imprint made by the veins.
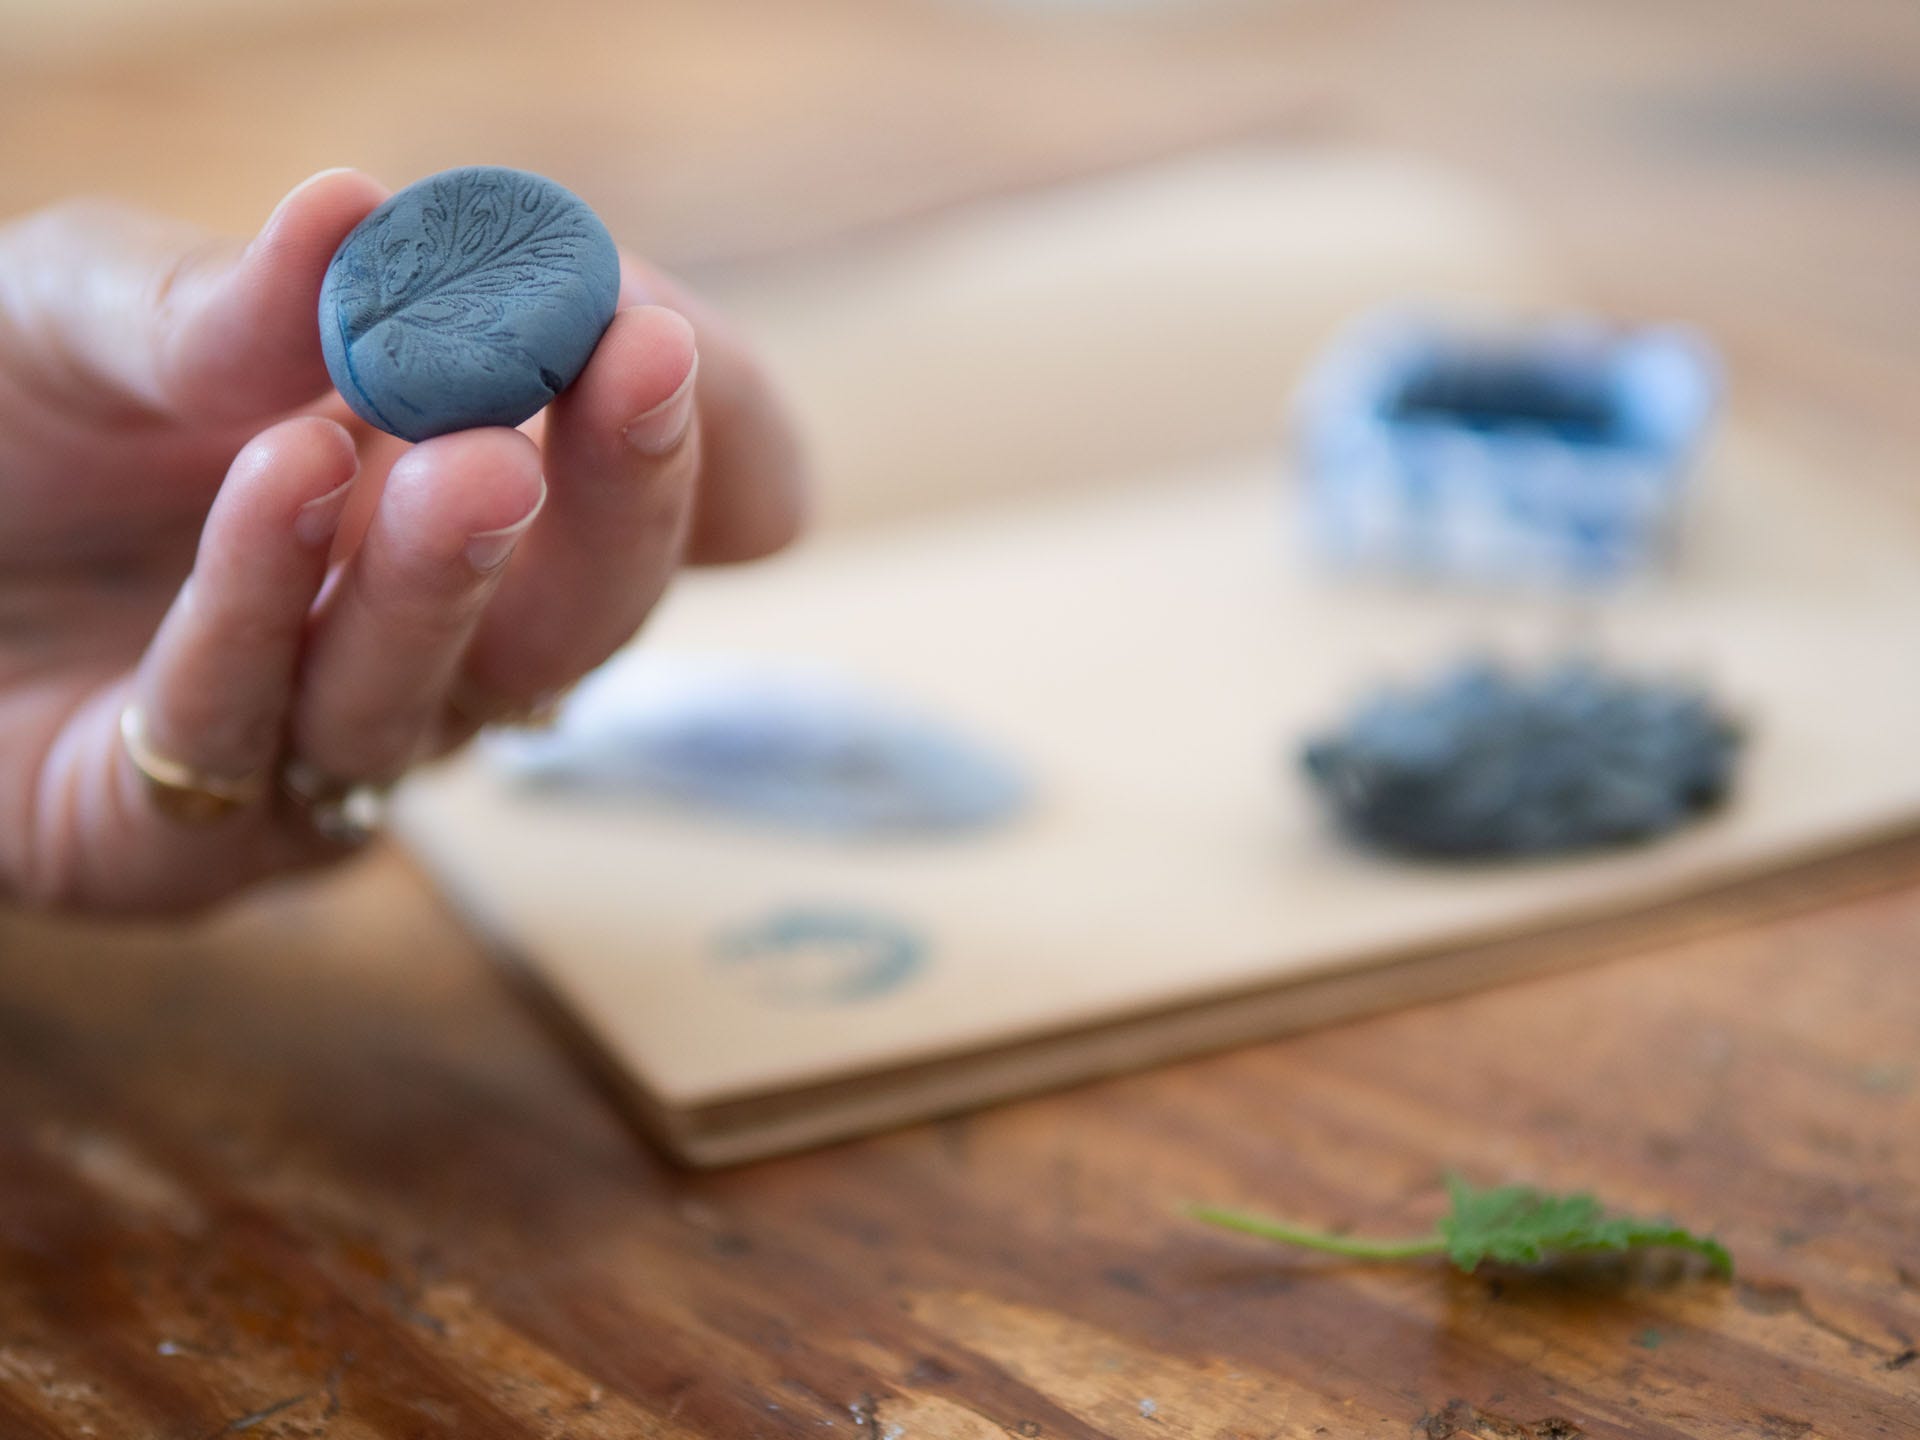
Peel the eraser up carefully.
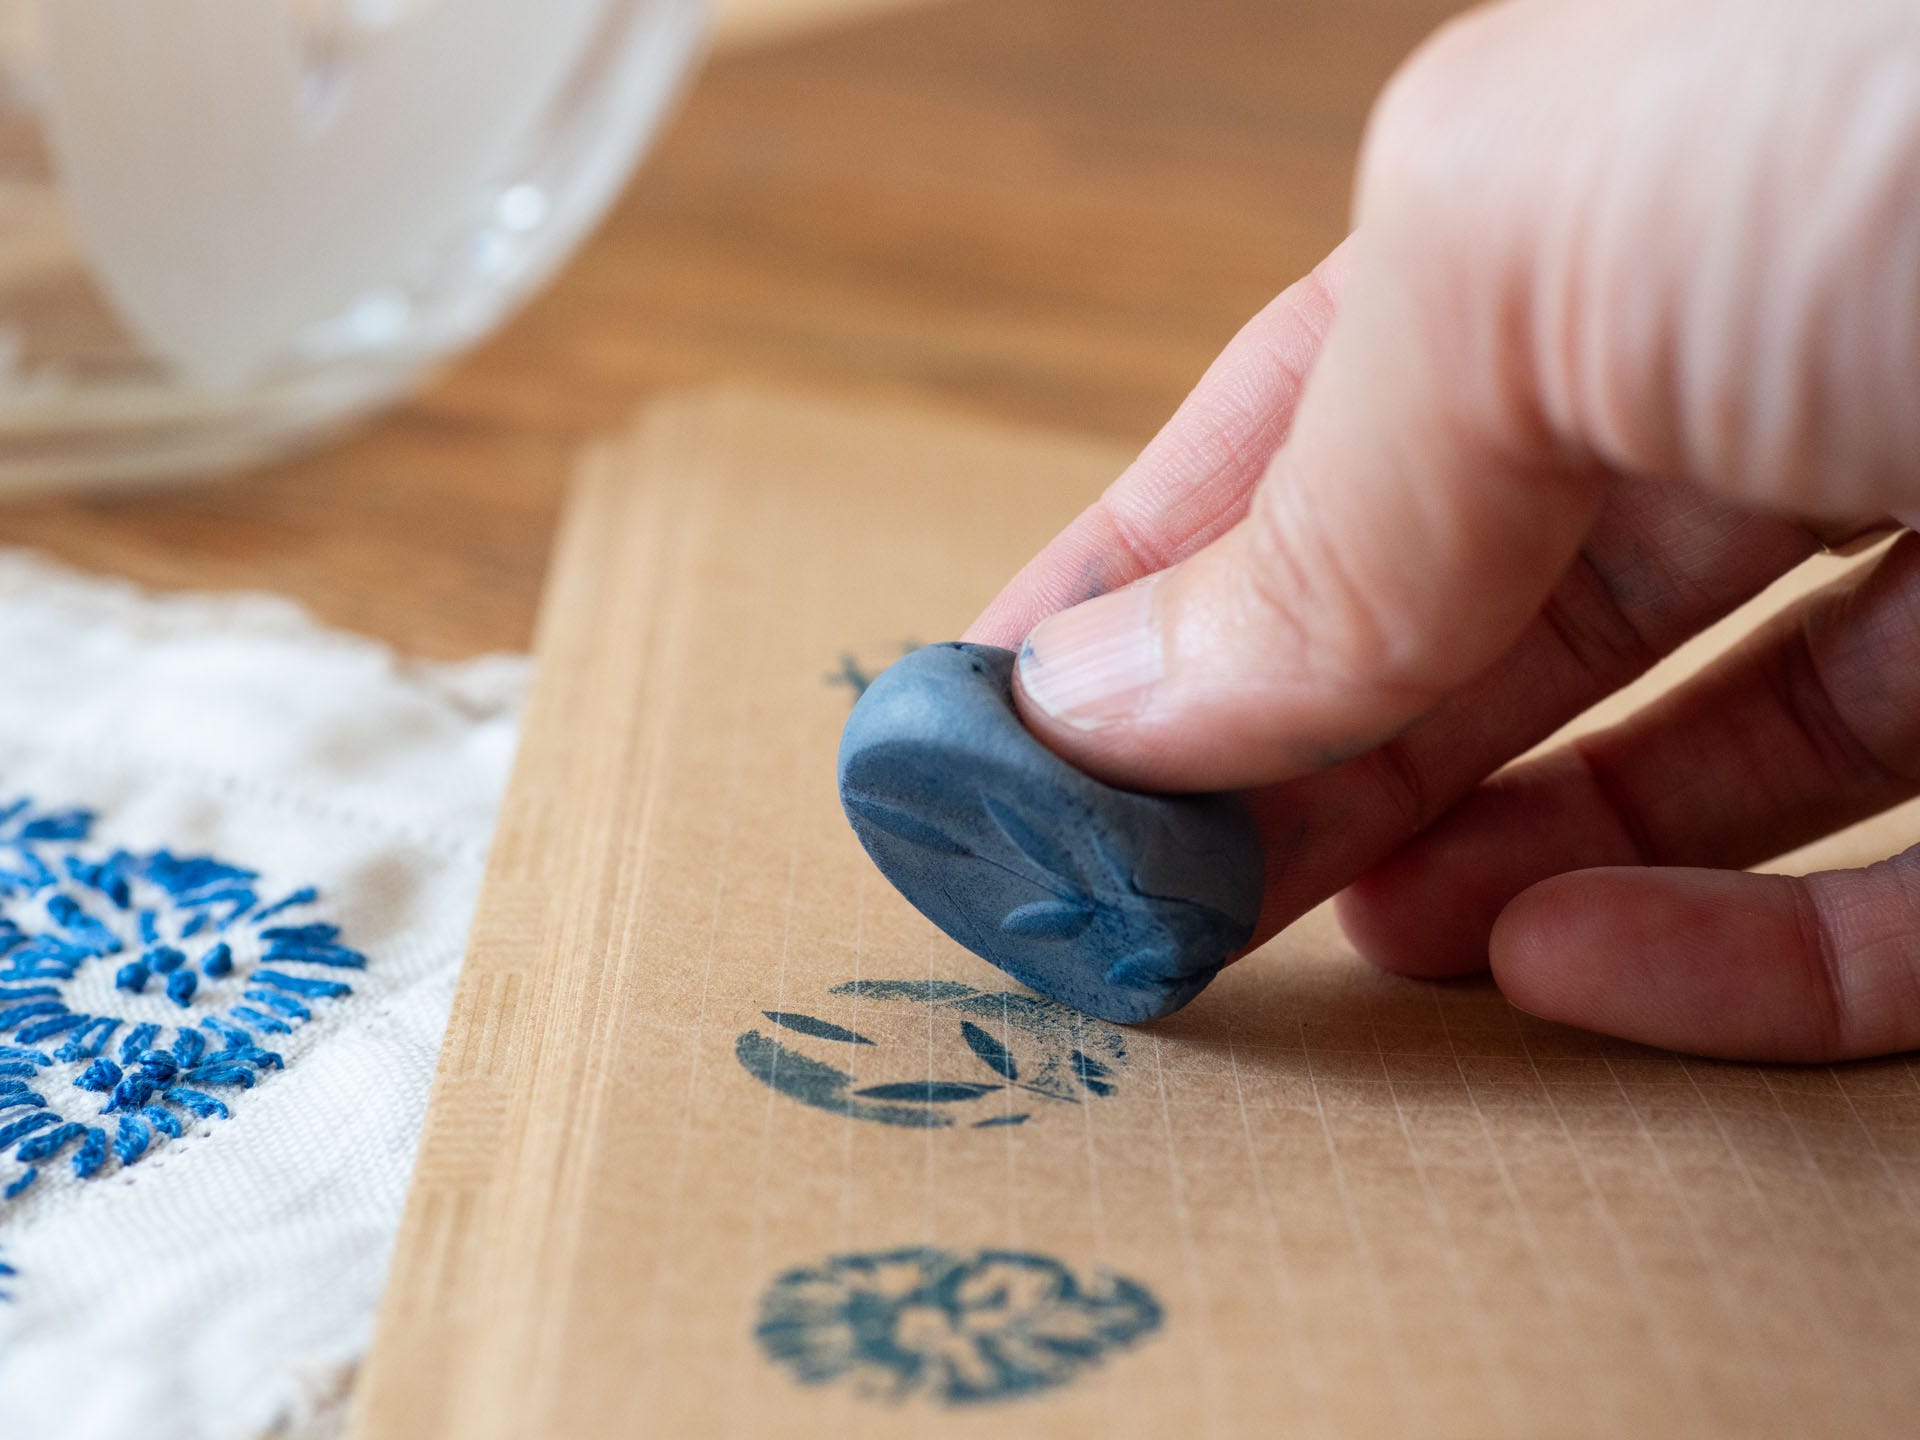
When stamping, don’t press so hard that you smush the texture right out.
You want to aim for good ink coverage but a relatively light touch onto the ink pad and paper.
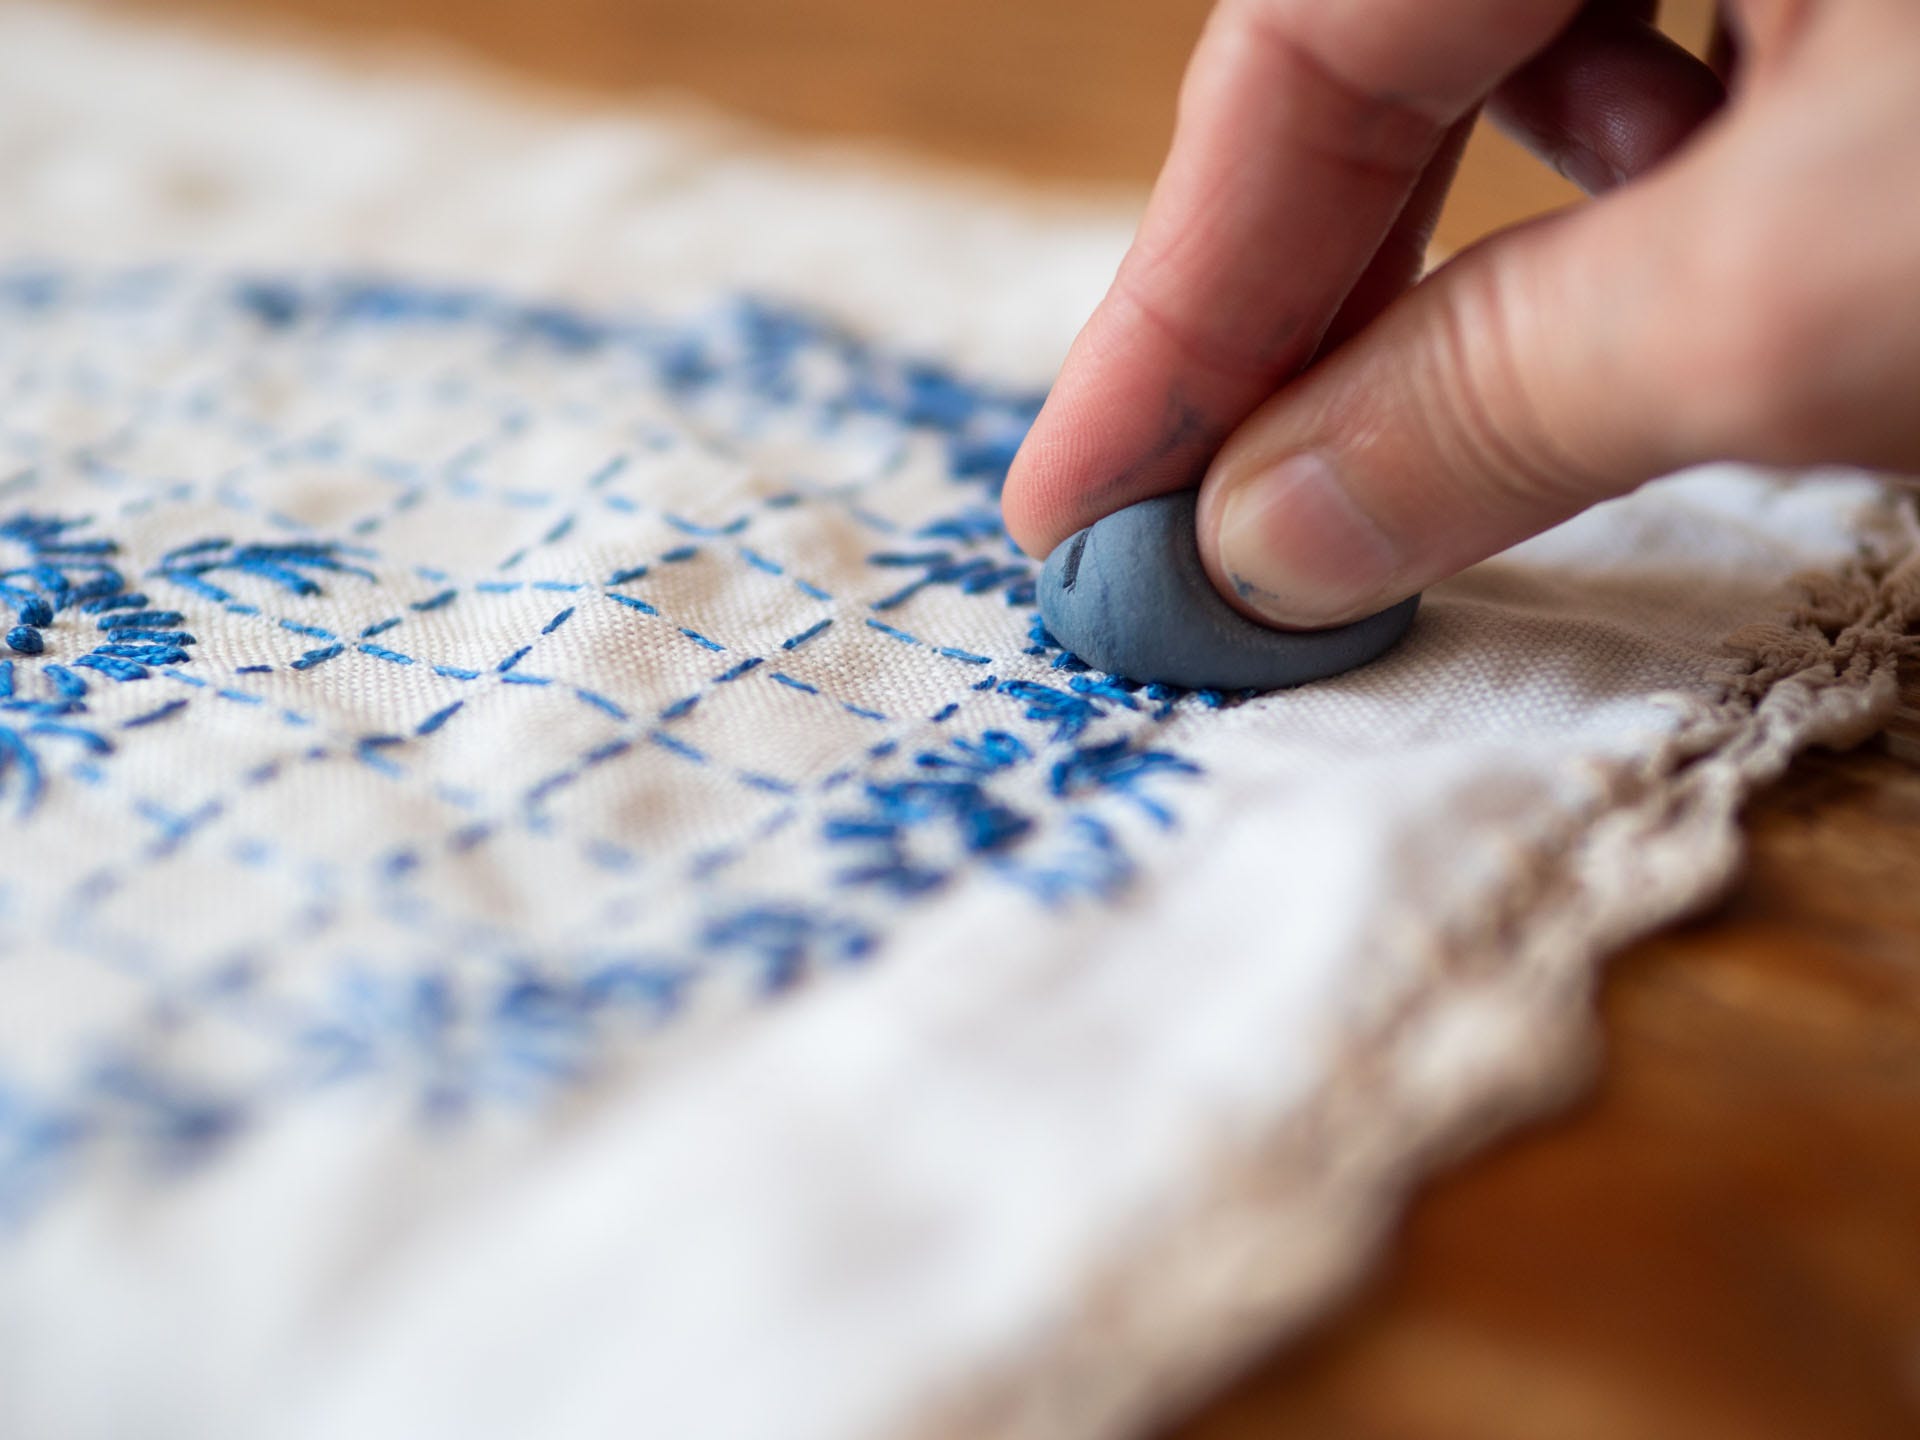
To reiterate: Press the eraser firmly onto a textured surface.
Smush your eraser ball until it flattens to a circle about an inch in diameter and still thick enough to peel up easily
Stamp with light, even pressure to retain the relief.
These high-relief leaves came from the eraser being pressed into the deep grooves of a cut crystal pitcher.
An antique crystal candlestick lamp made another high-relief stamp. Knurled and engraved metal hardware and embellishments also work beautifully, but the experimentation is half the fun.
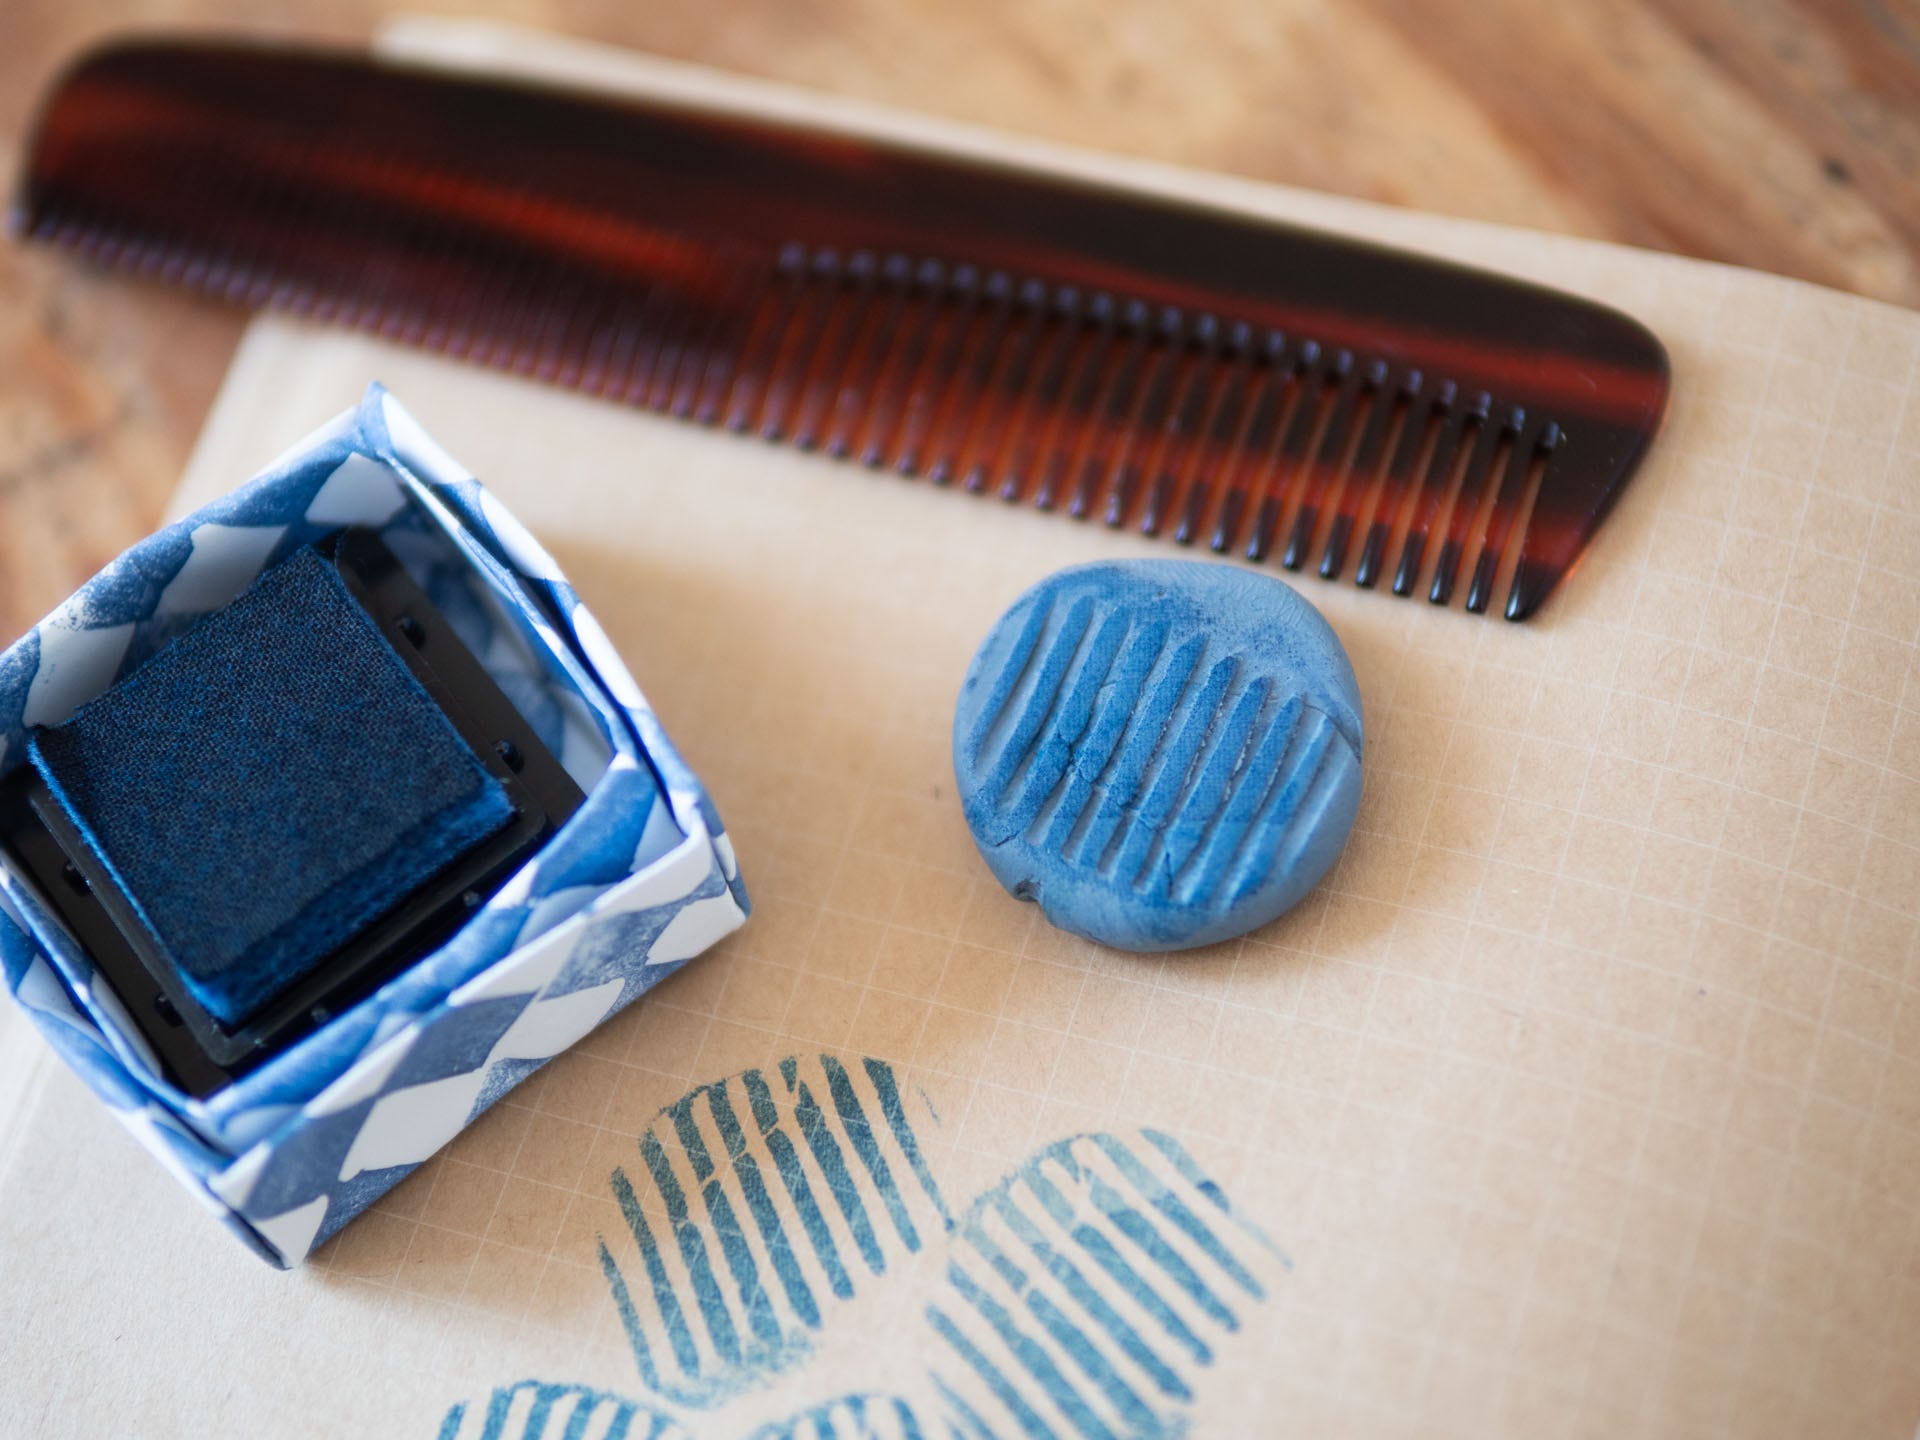
A classic comb, for example, is very good source for straight, high-relief lines.
Now, off you go!
Now this is a fully brain-engaged activity! And so cute and neat!
This is a great project!! Will be making many of these!! ❤️